San Diego Design Week
2023
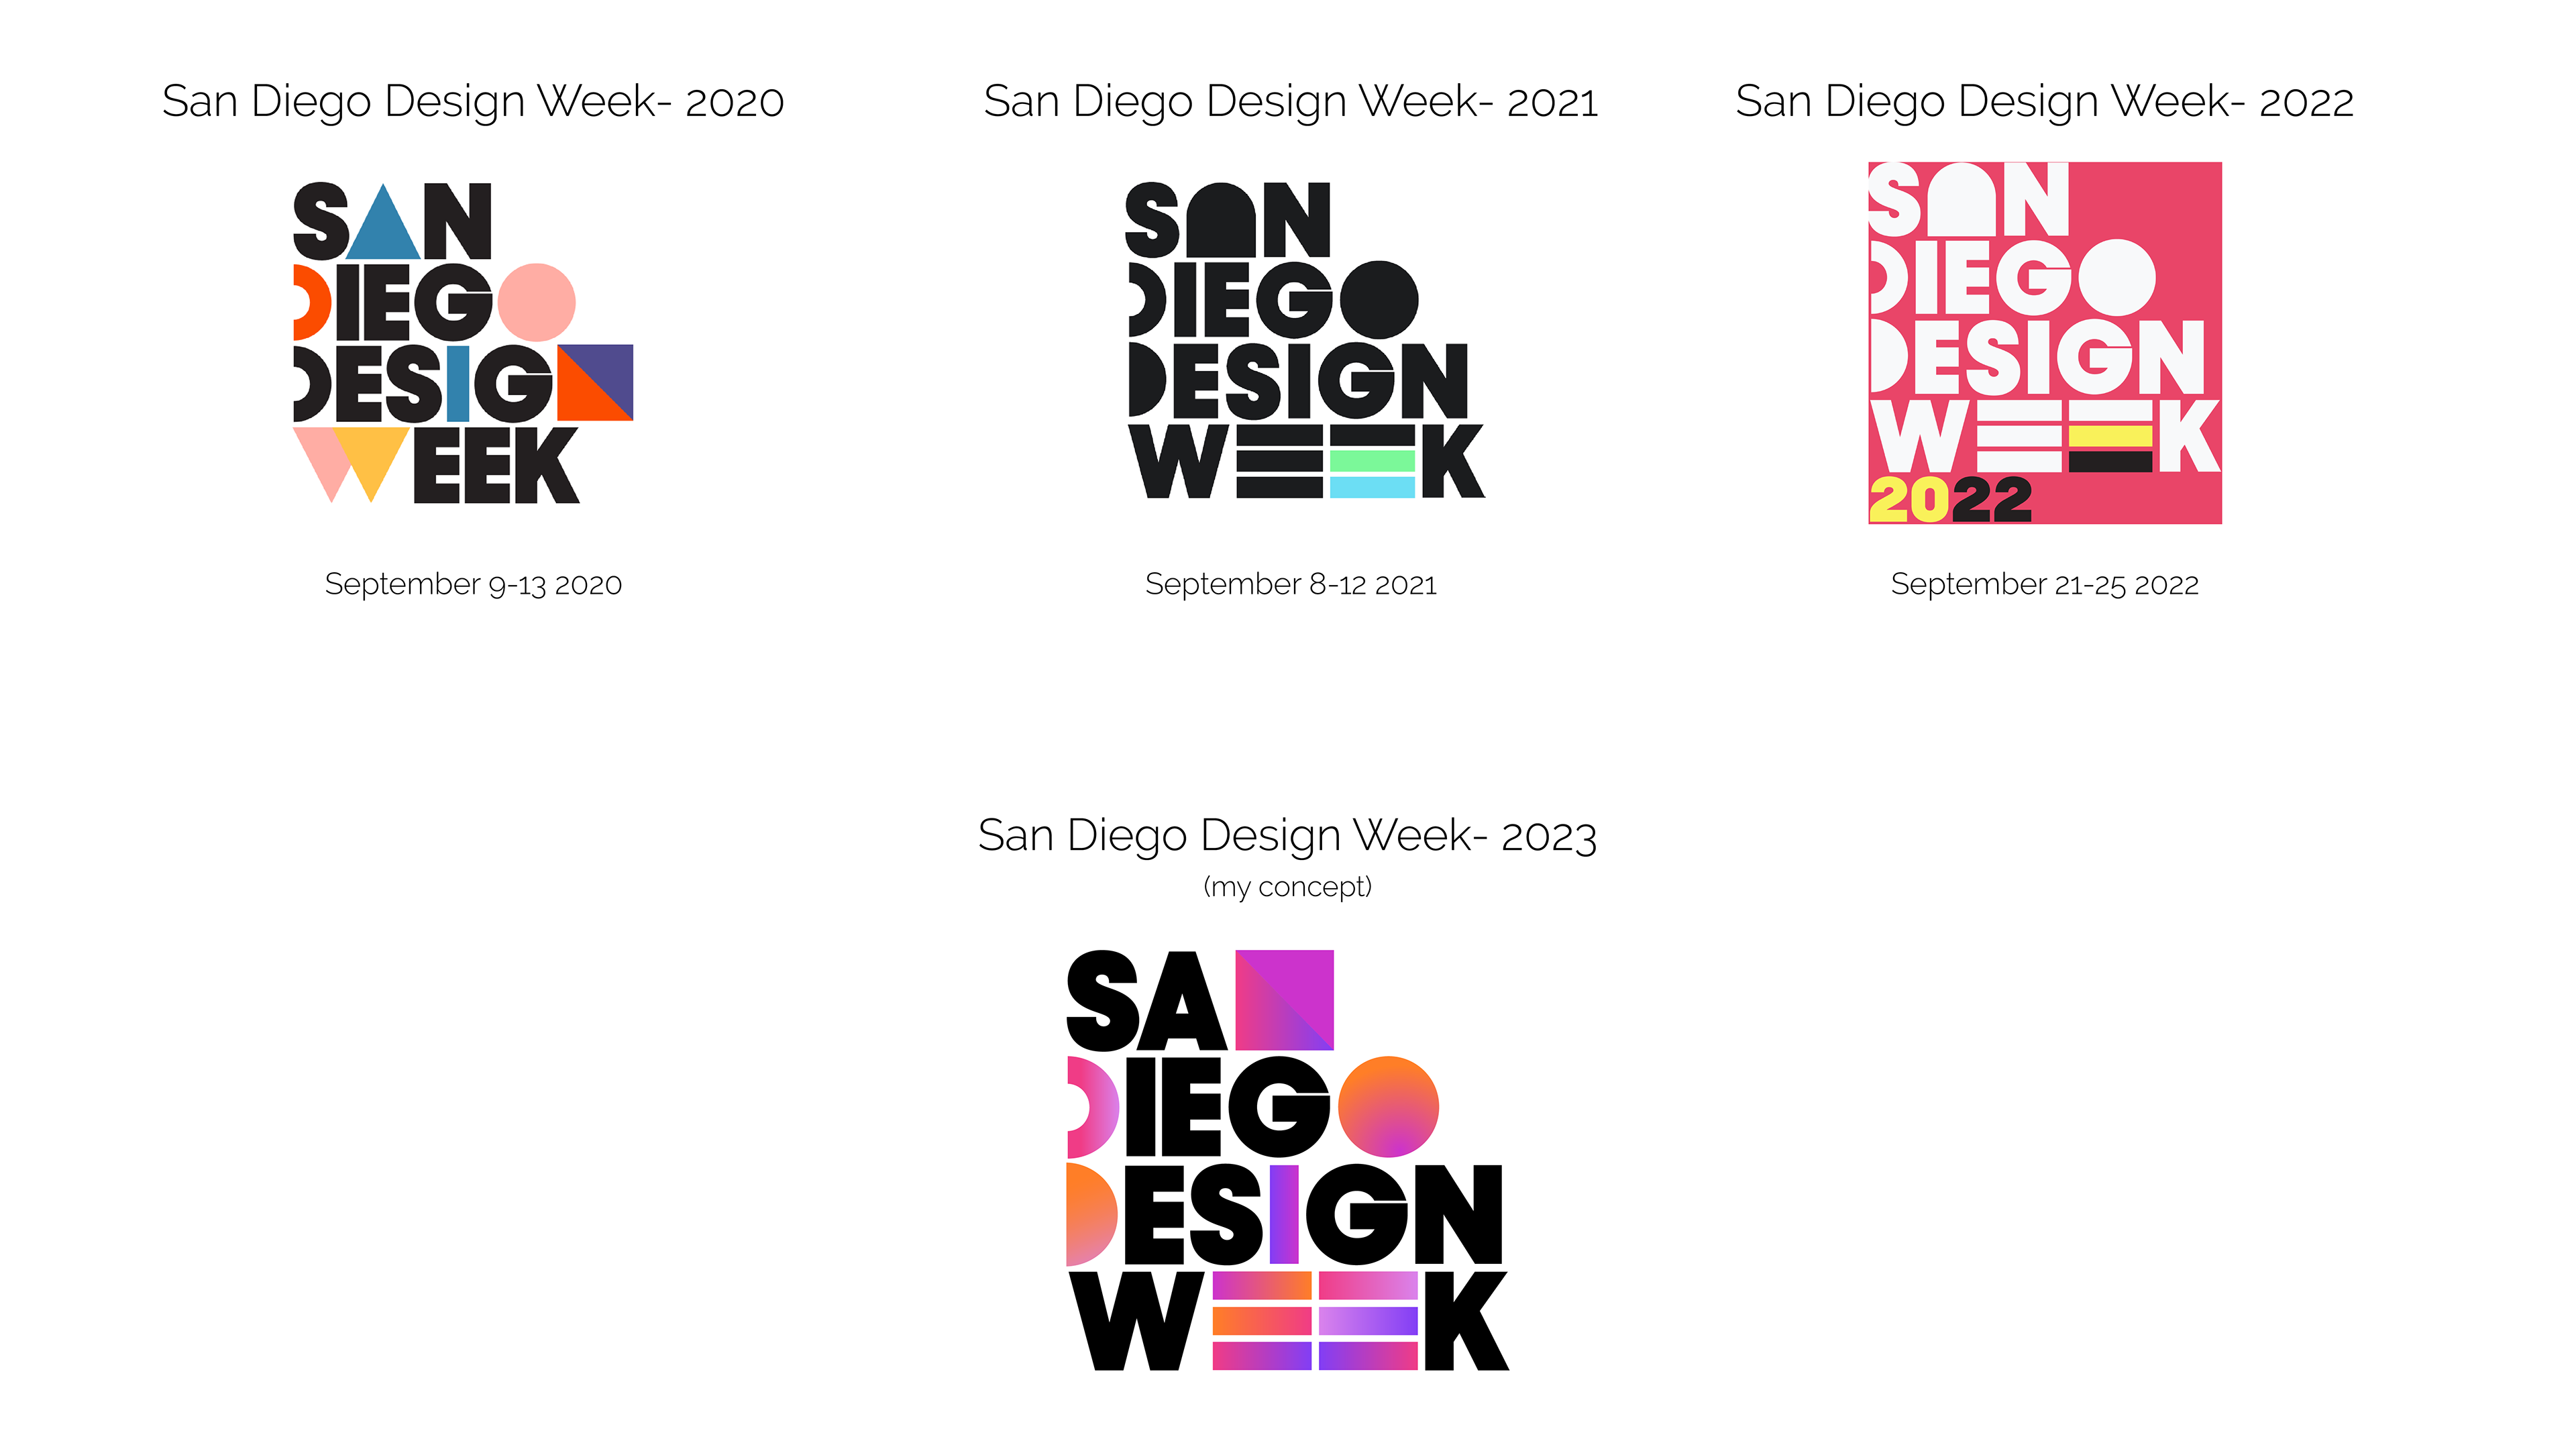
I was asked to create a promotional video for any professional event of my choosing. Somehow, that same week I came across the San Diego Design Week 2020 logo. It was "love at first sight" hahaha! I love playing with geometric shapes and a clean vector style. However, when searching for their 2023 branding, I found that they hadn't released anything yet.
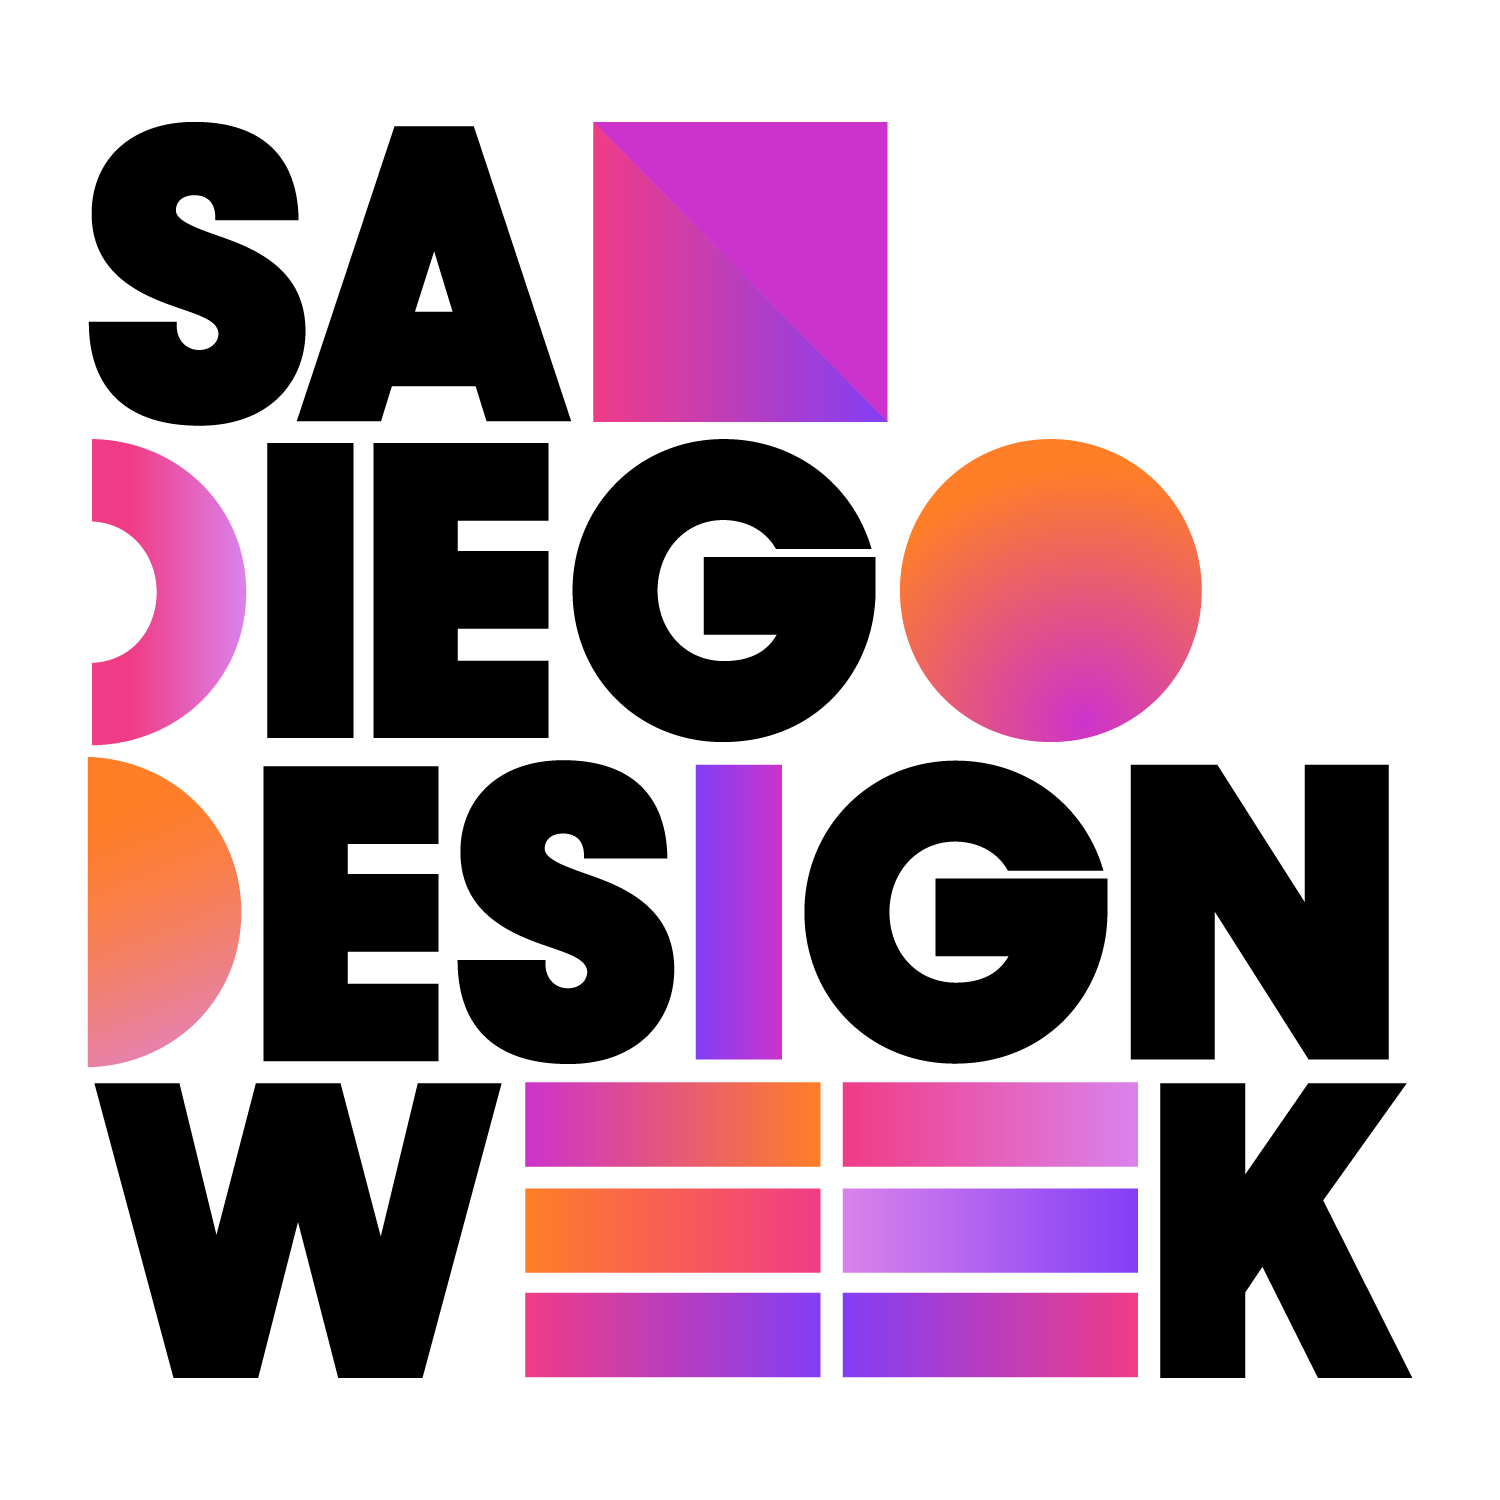
So... I decided to design my own branding and logo.
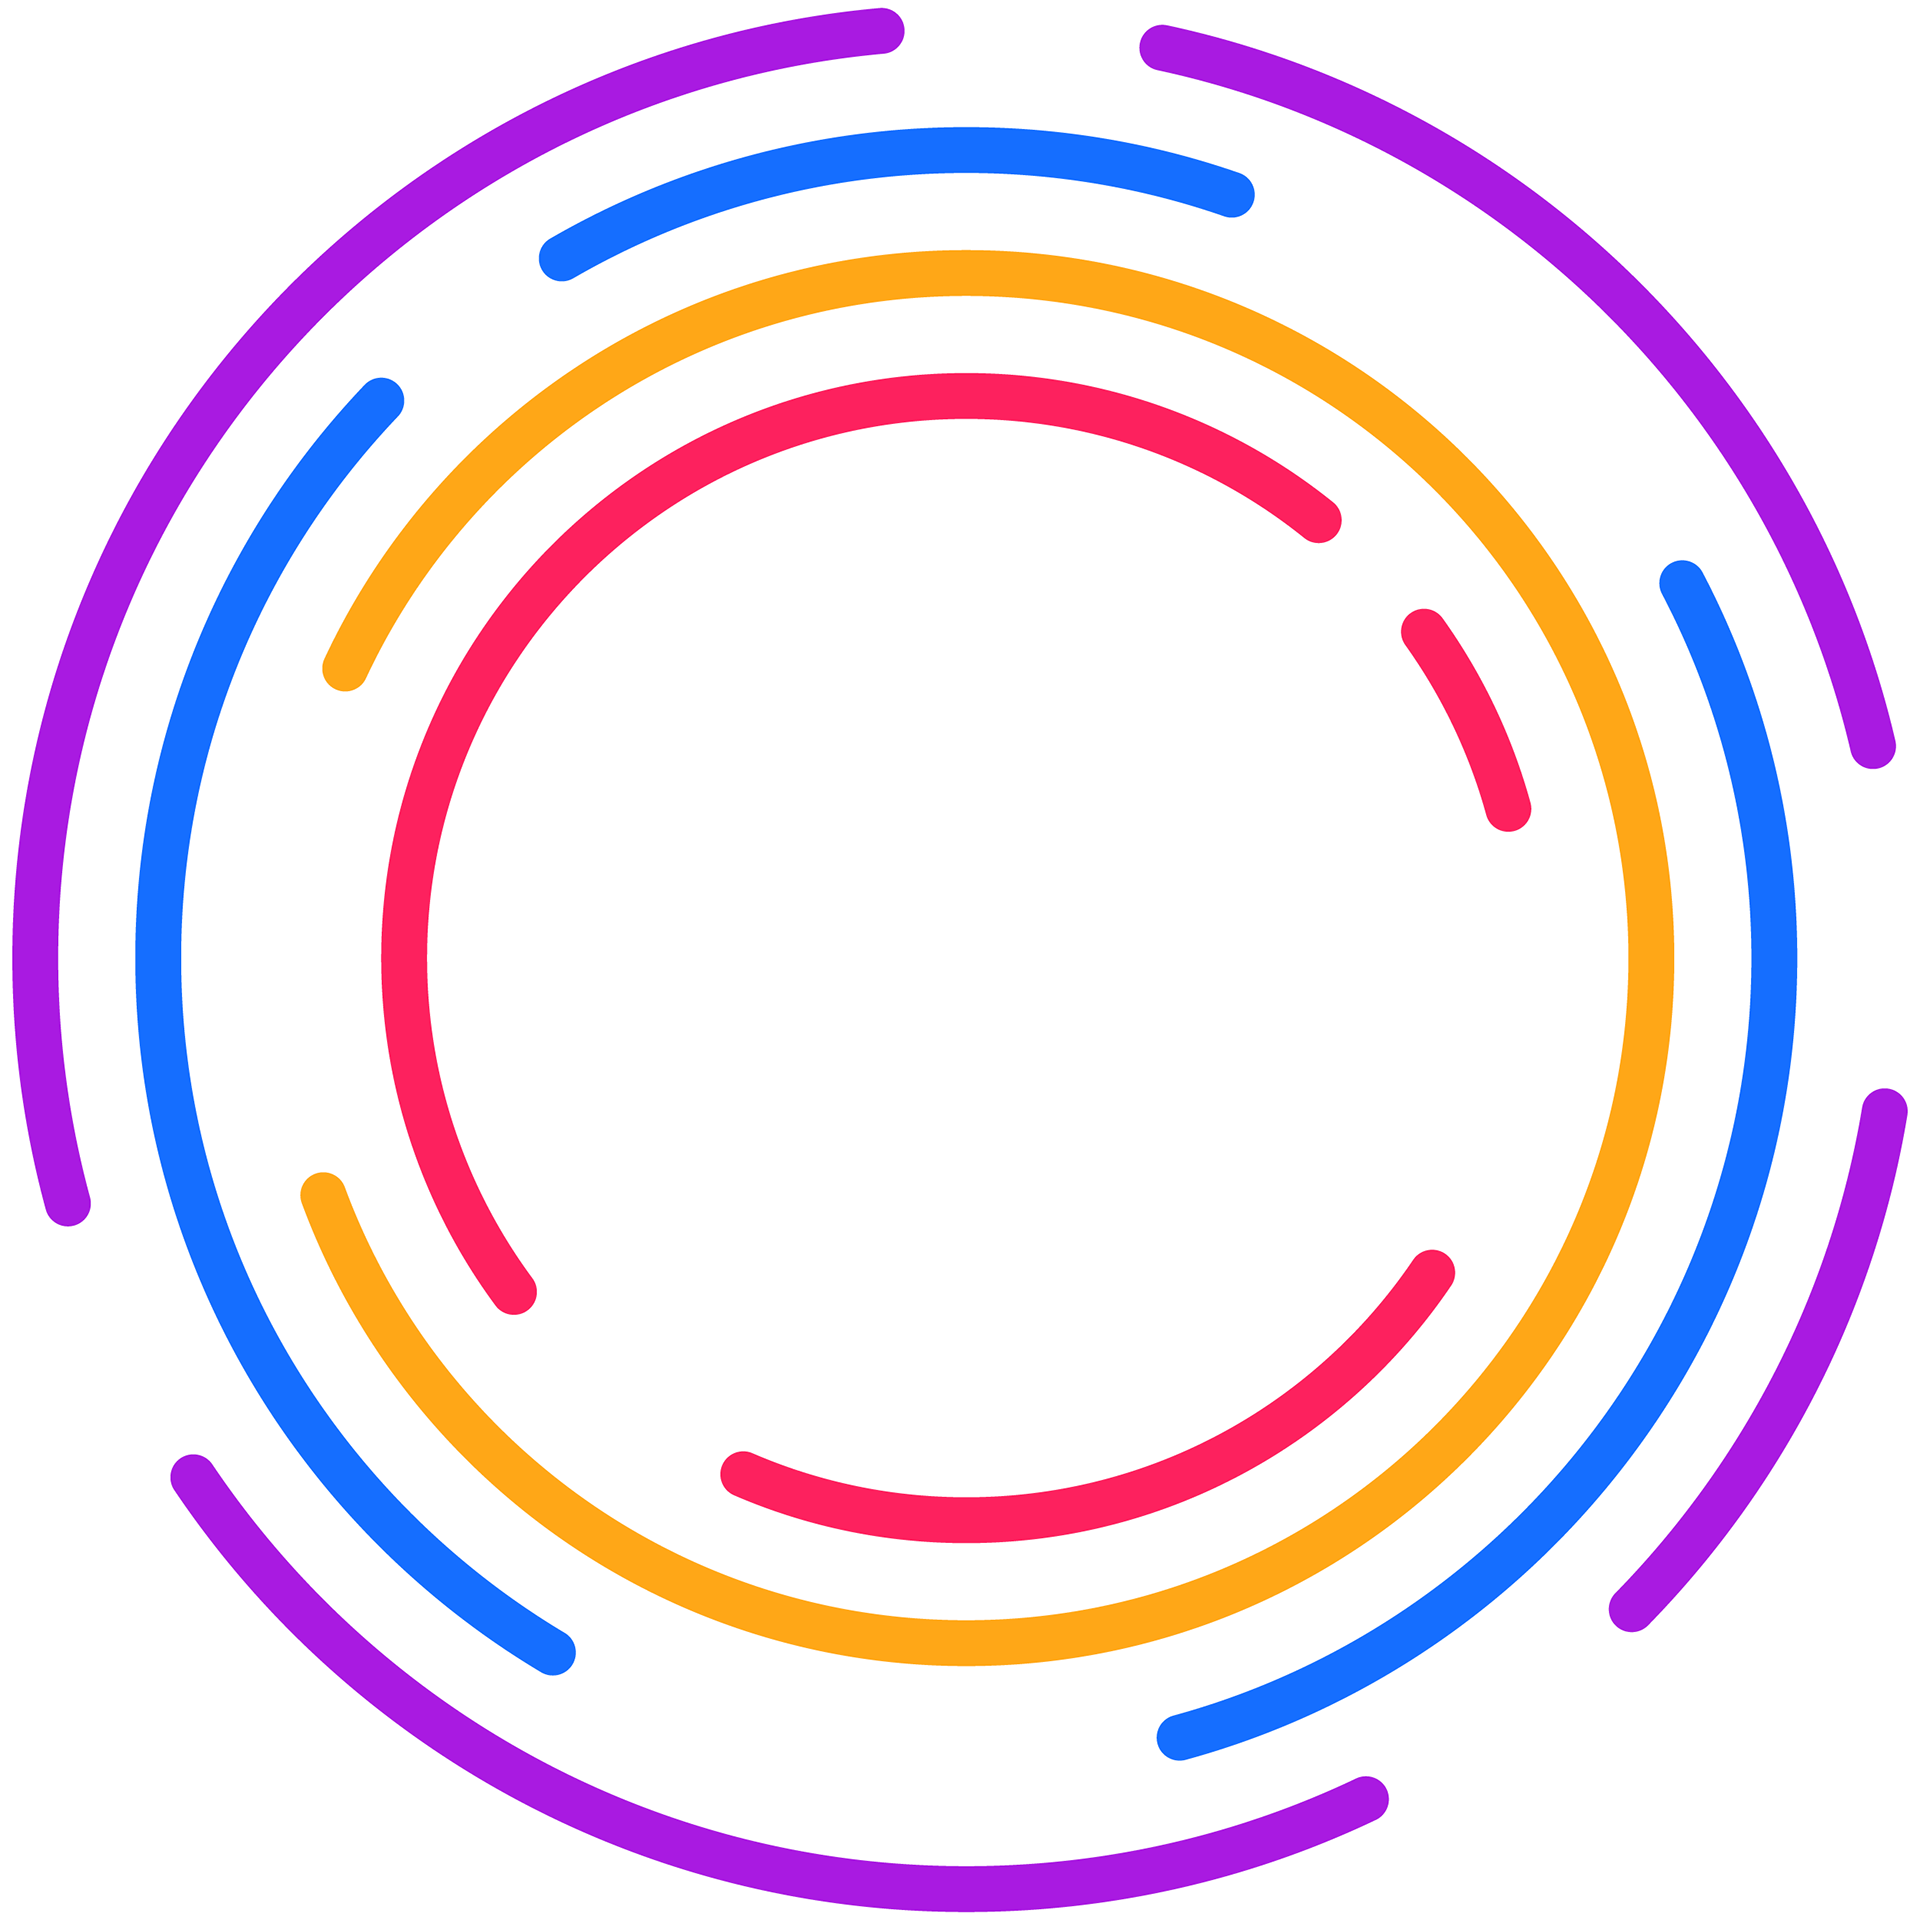
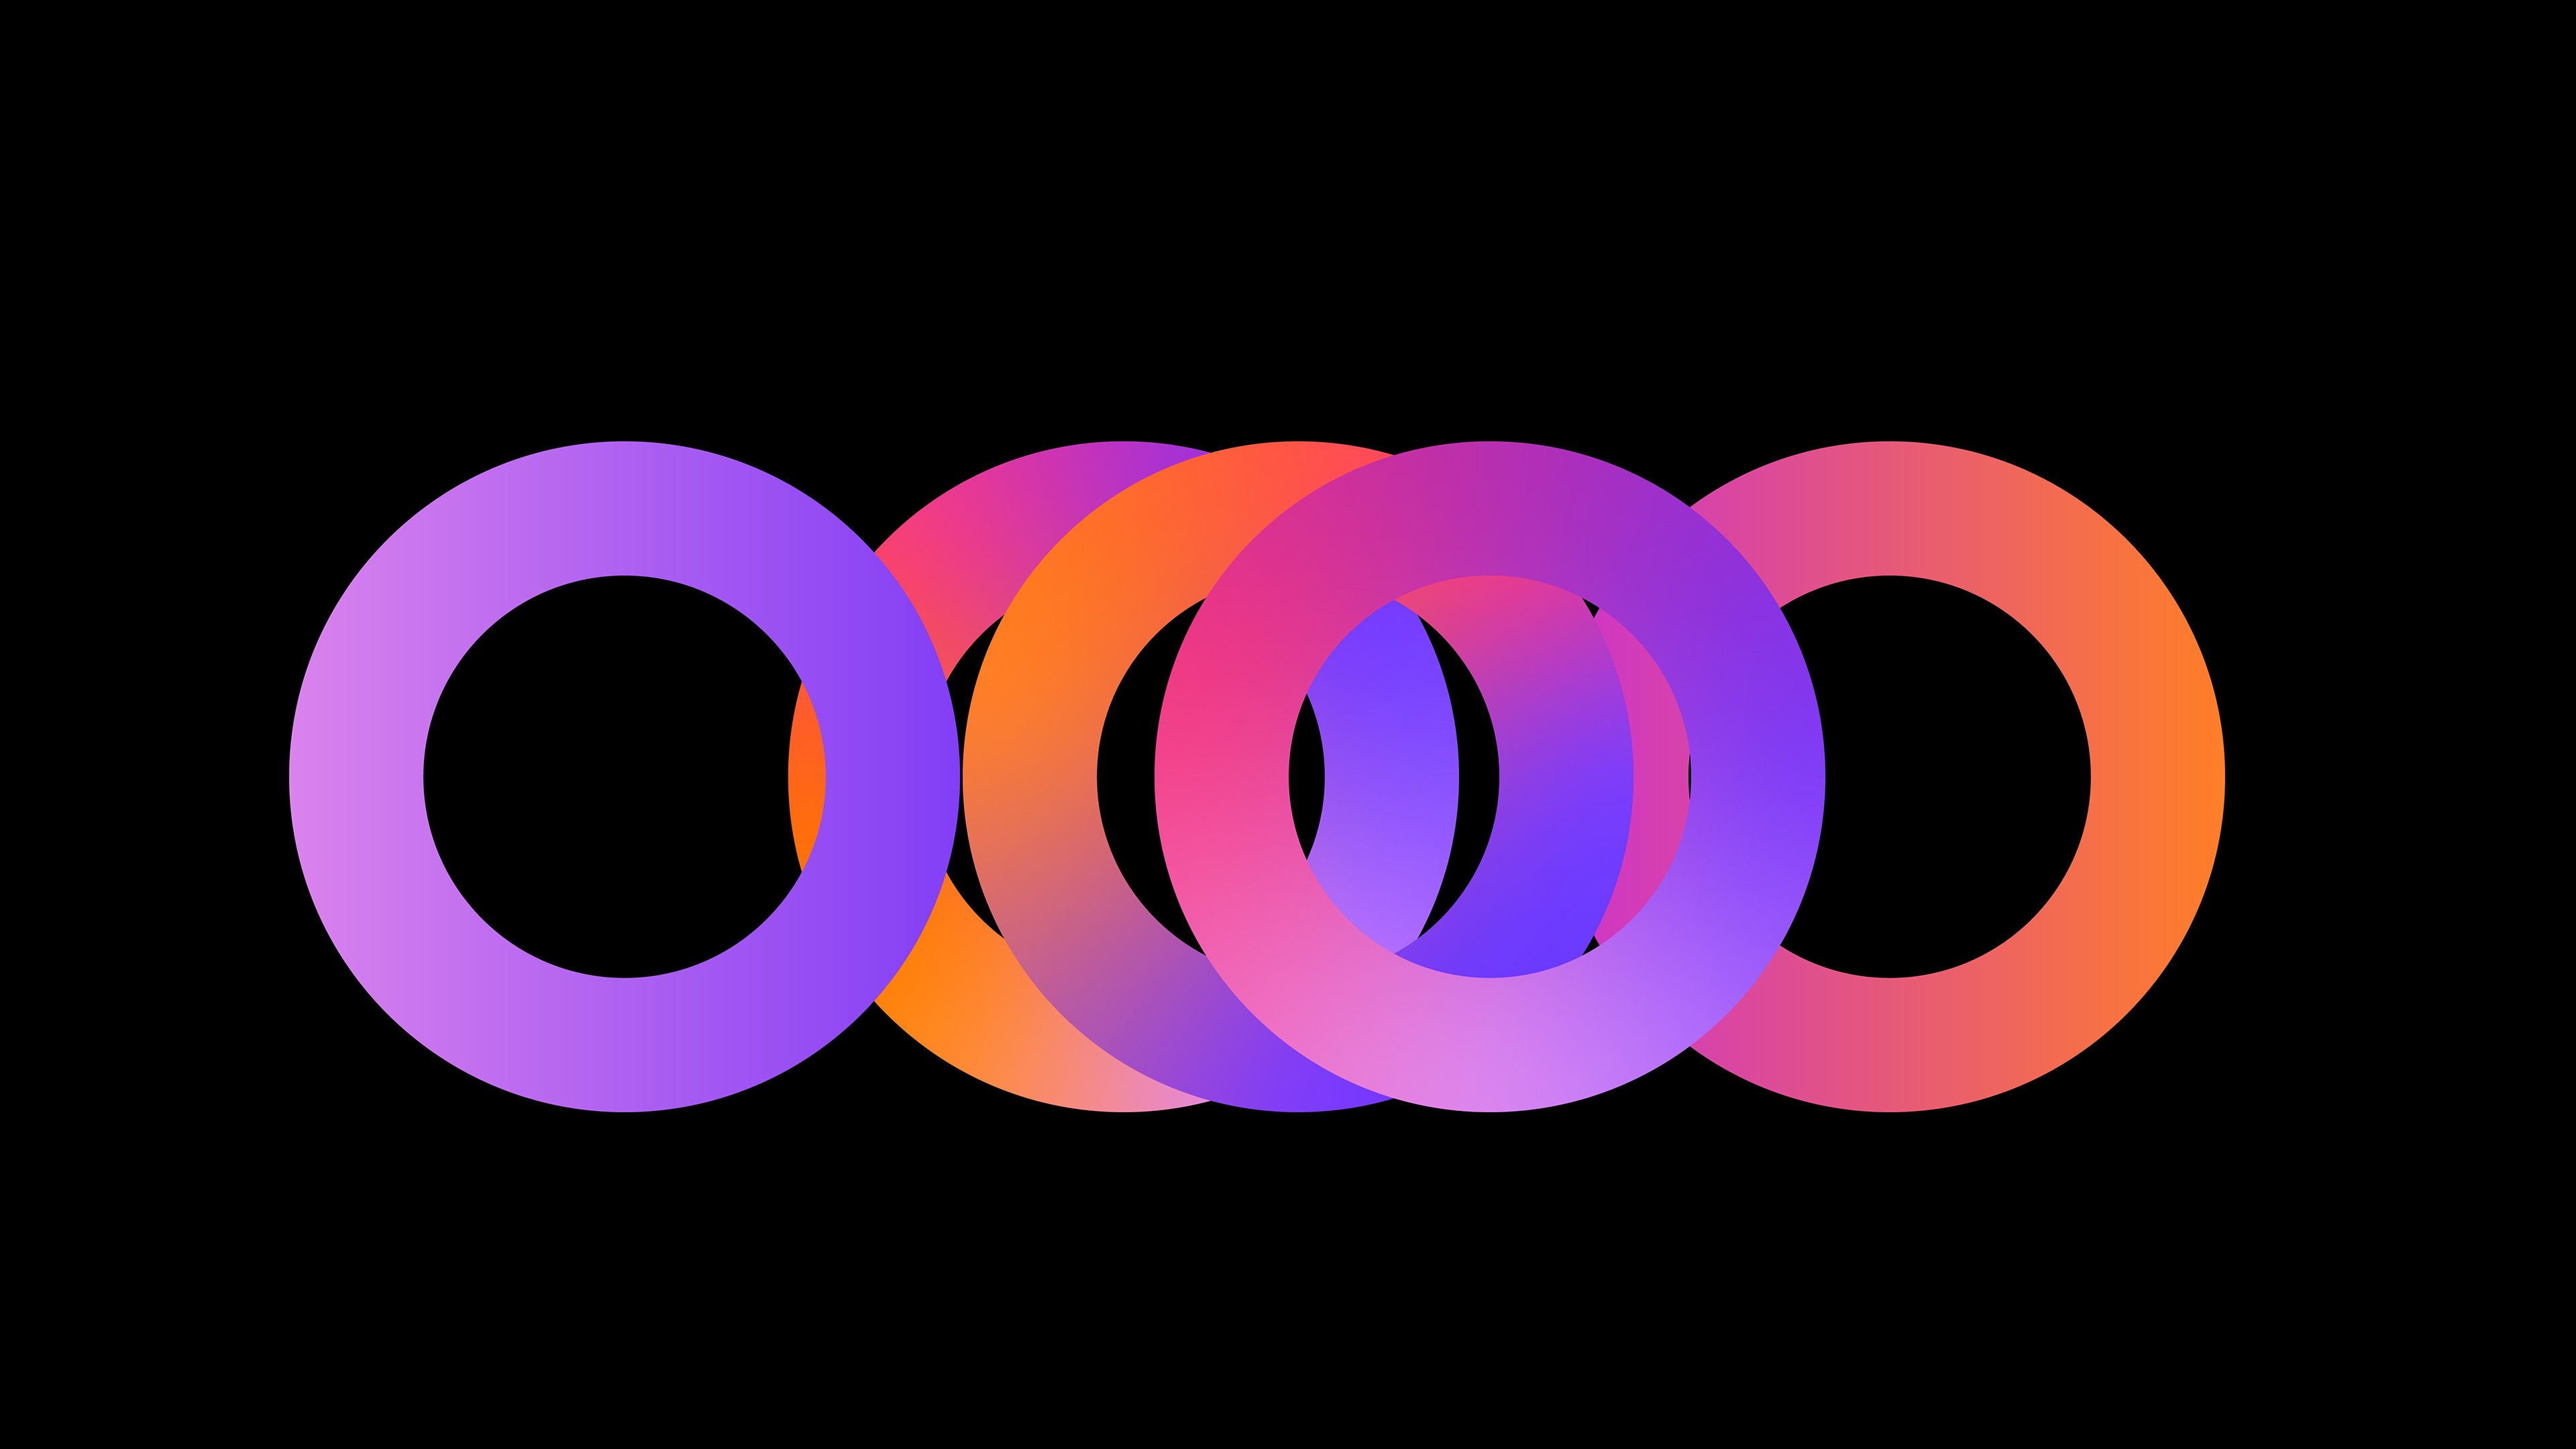
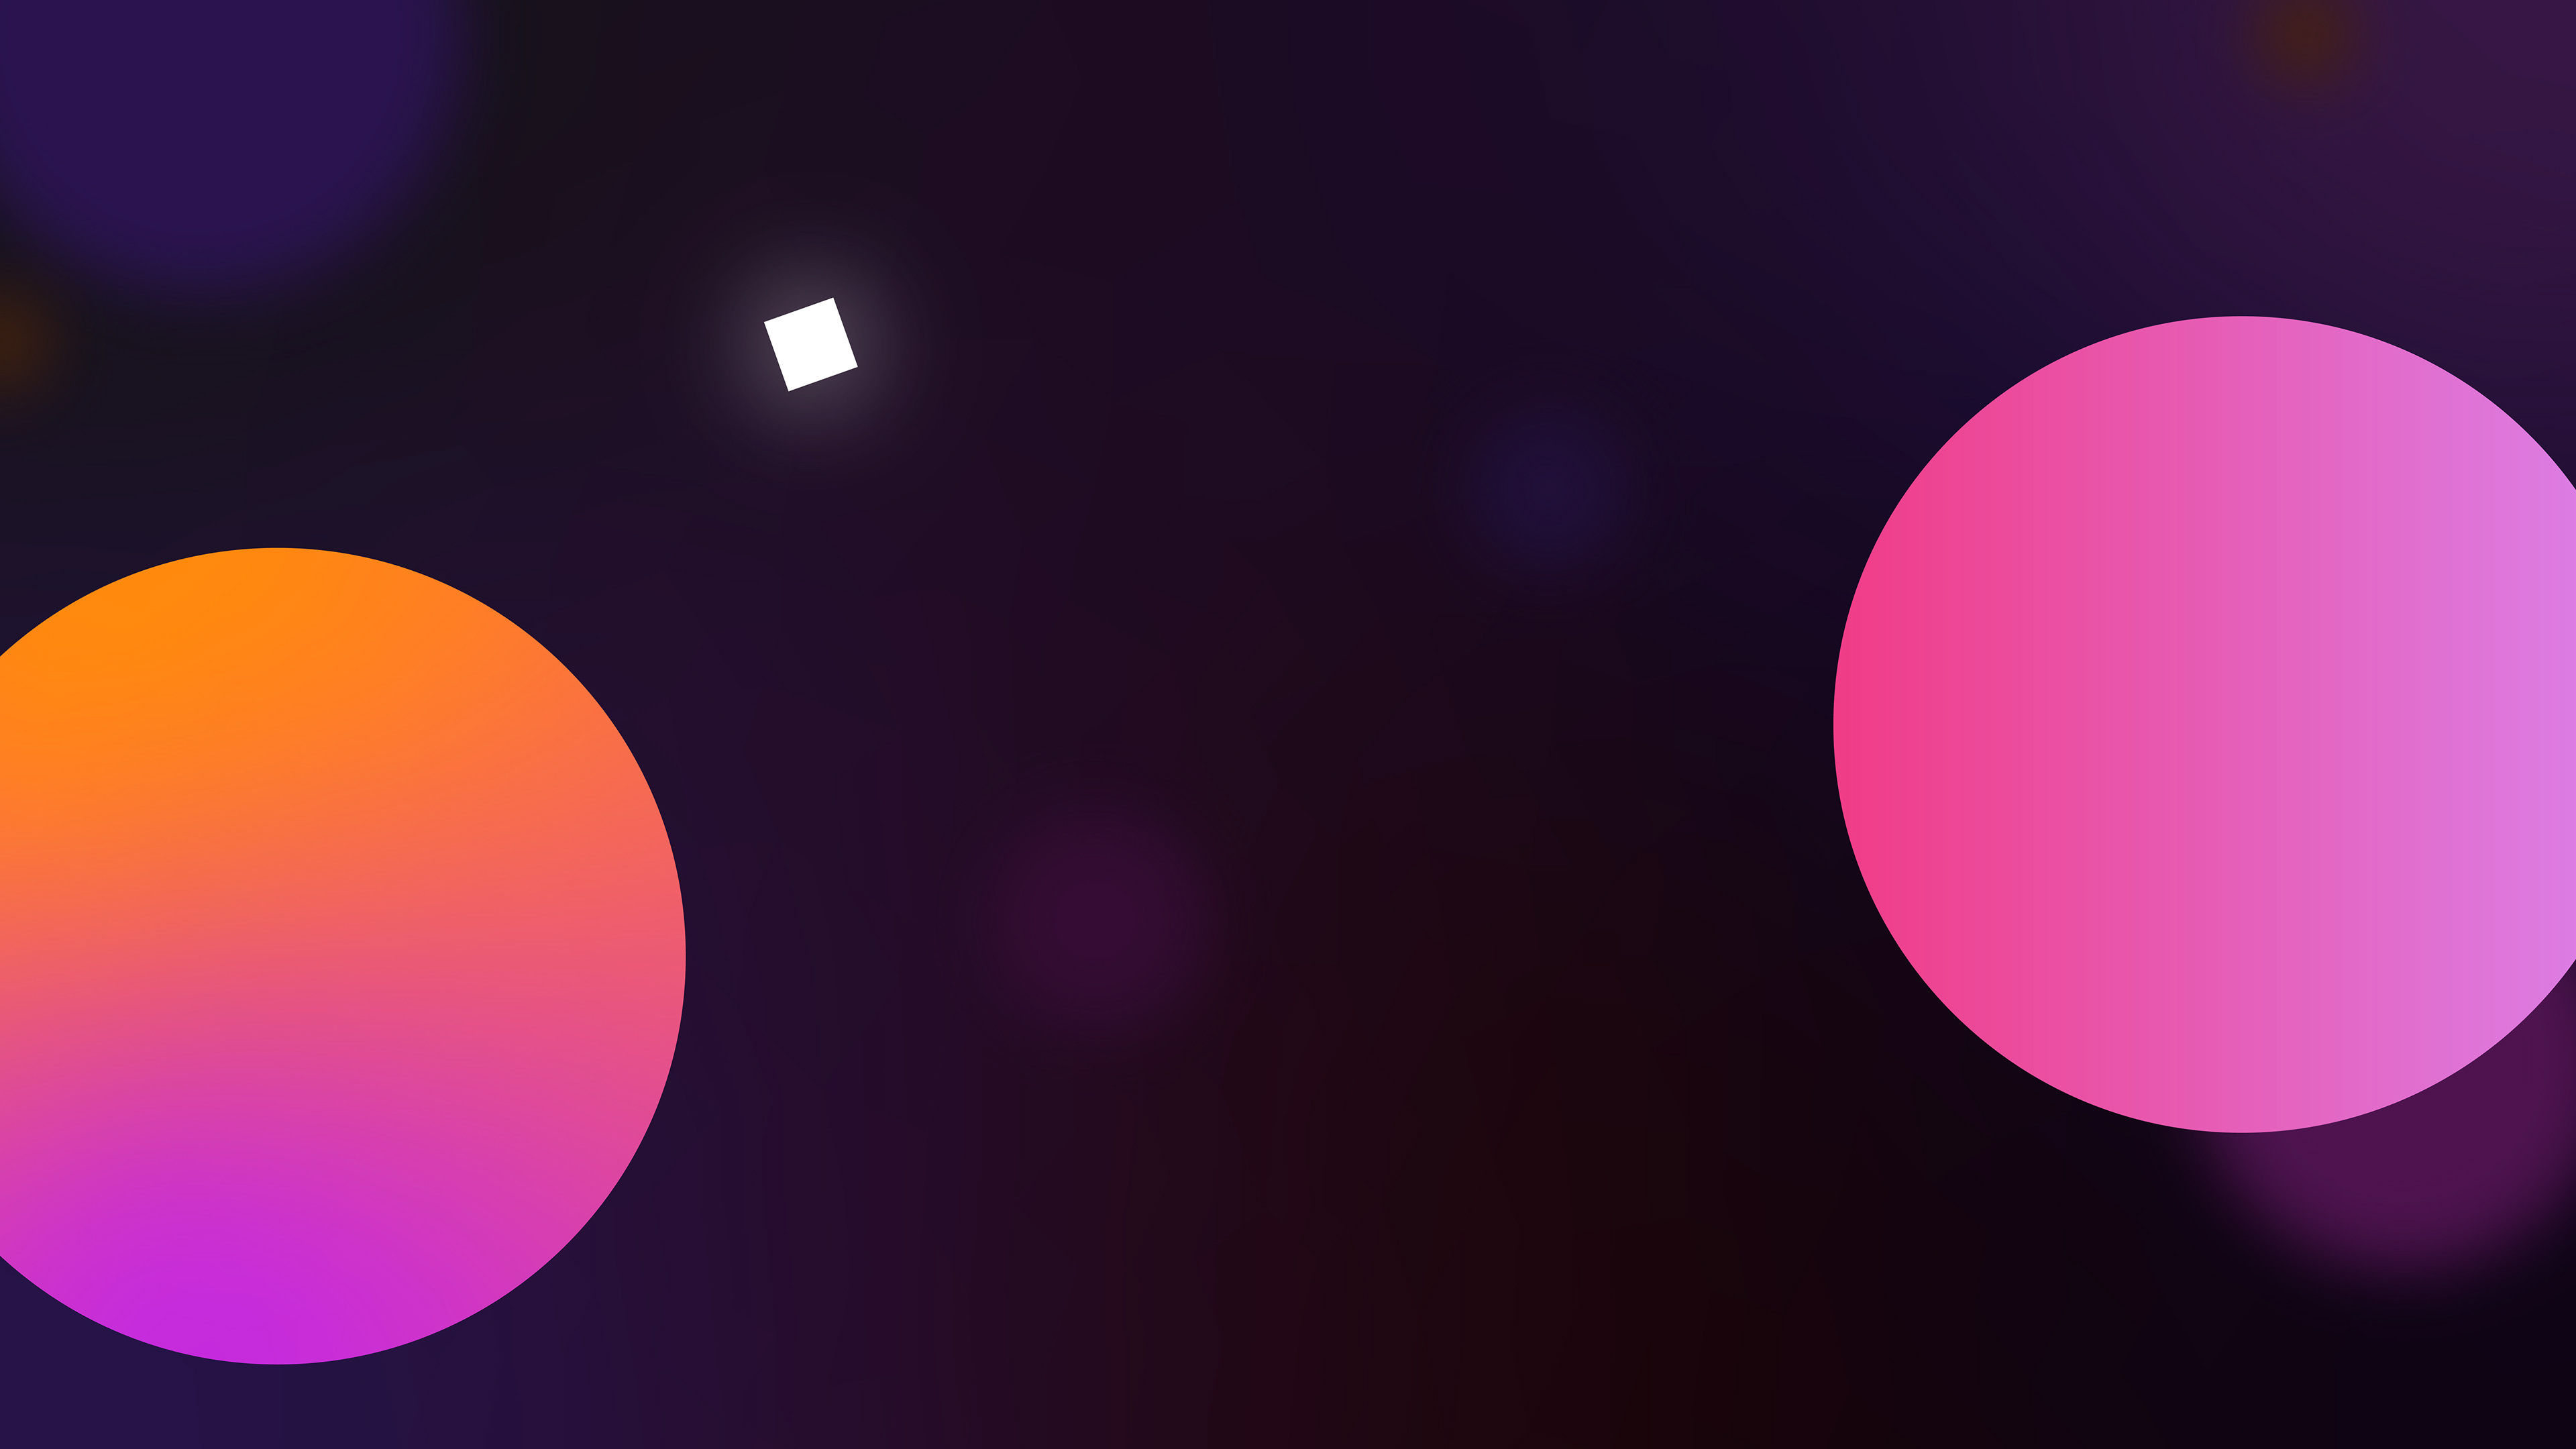
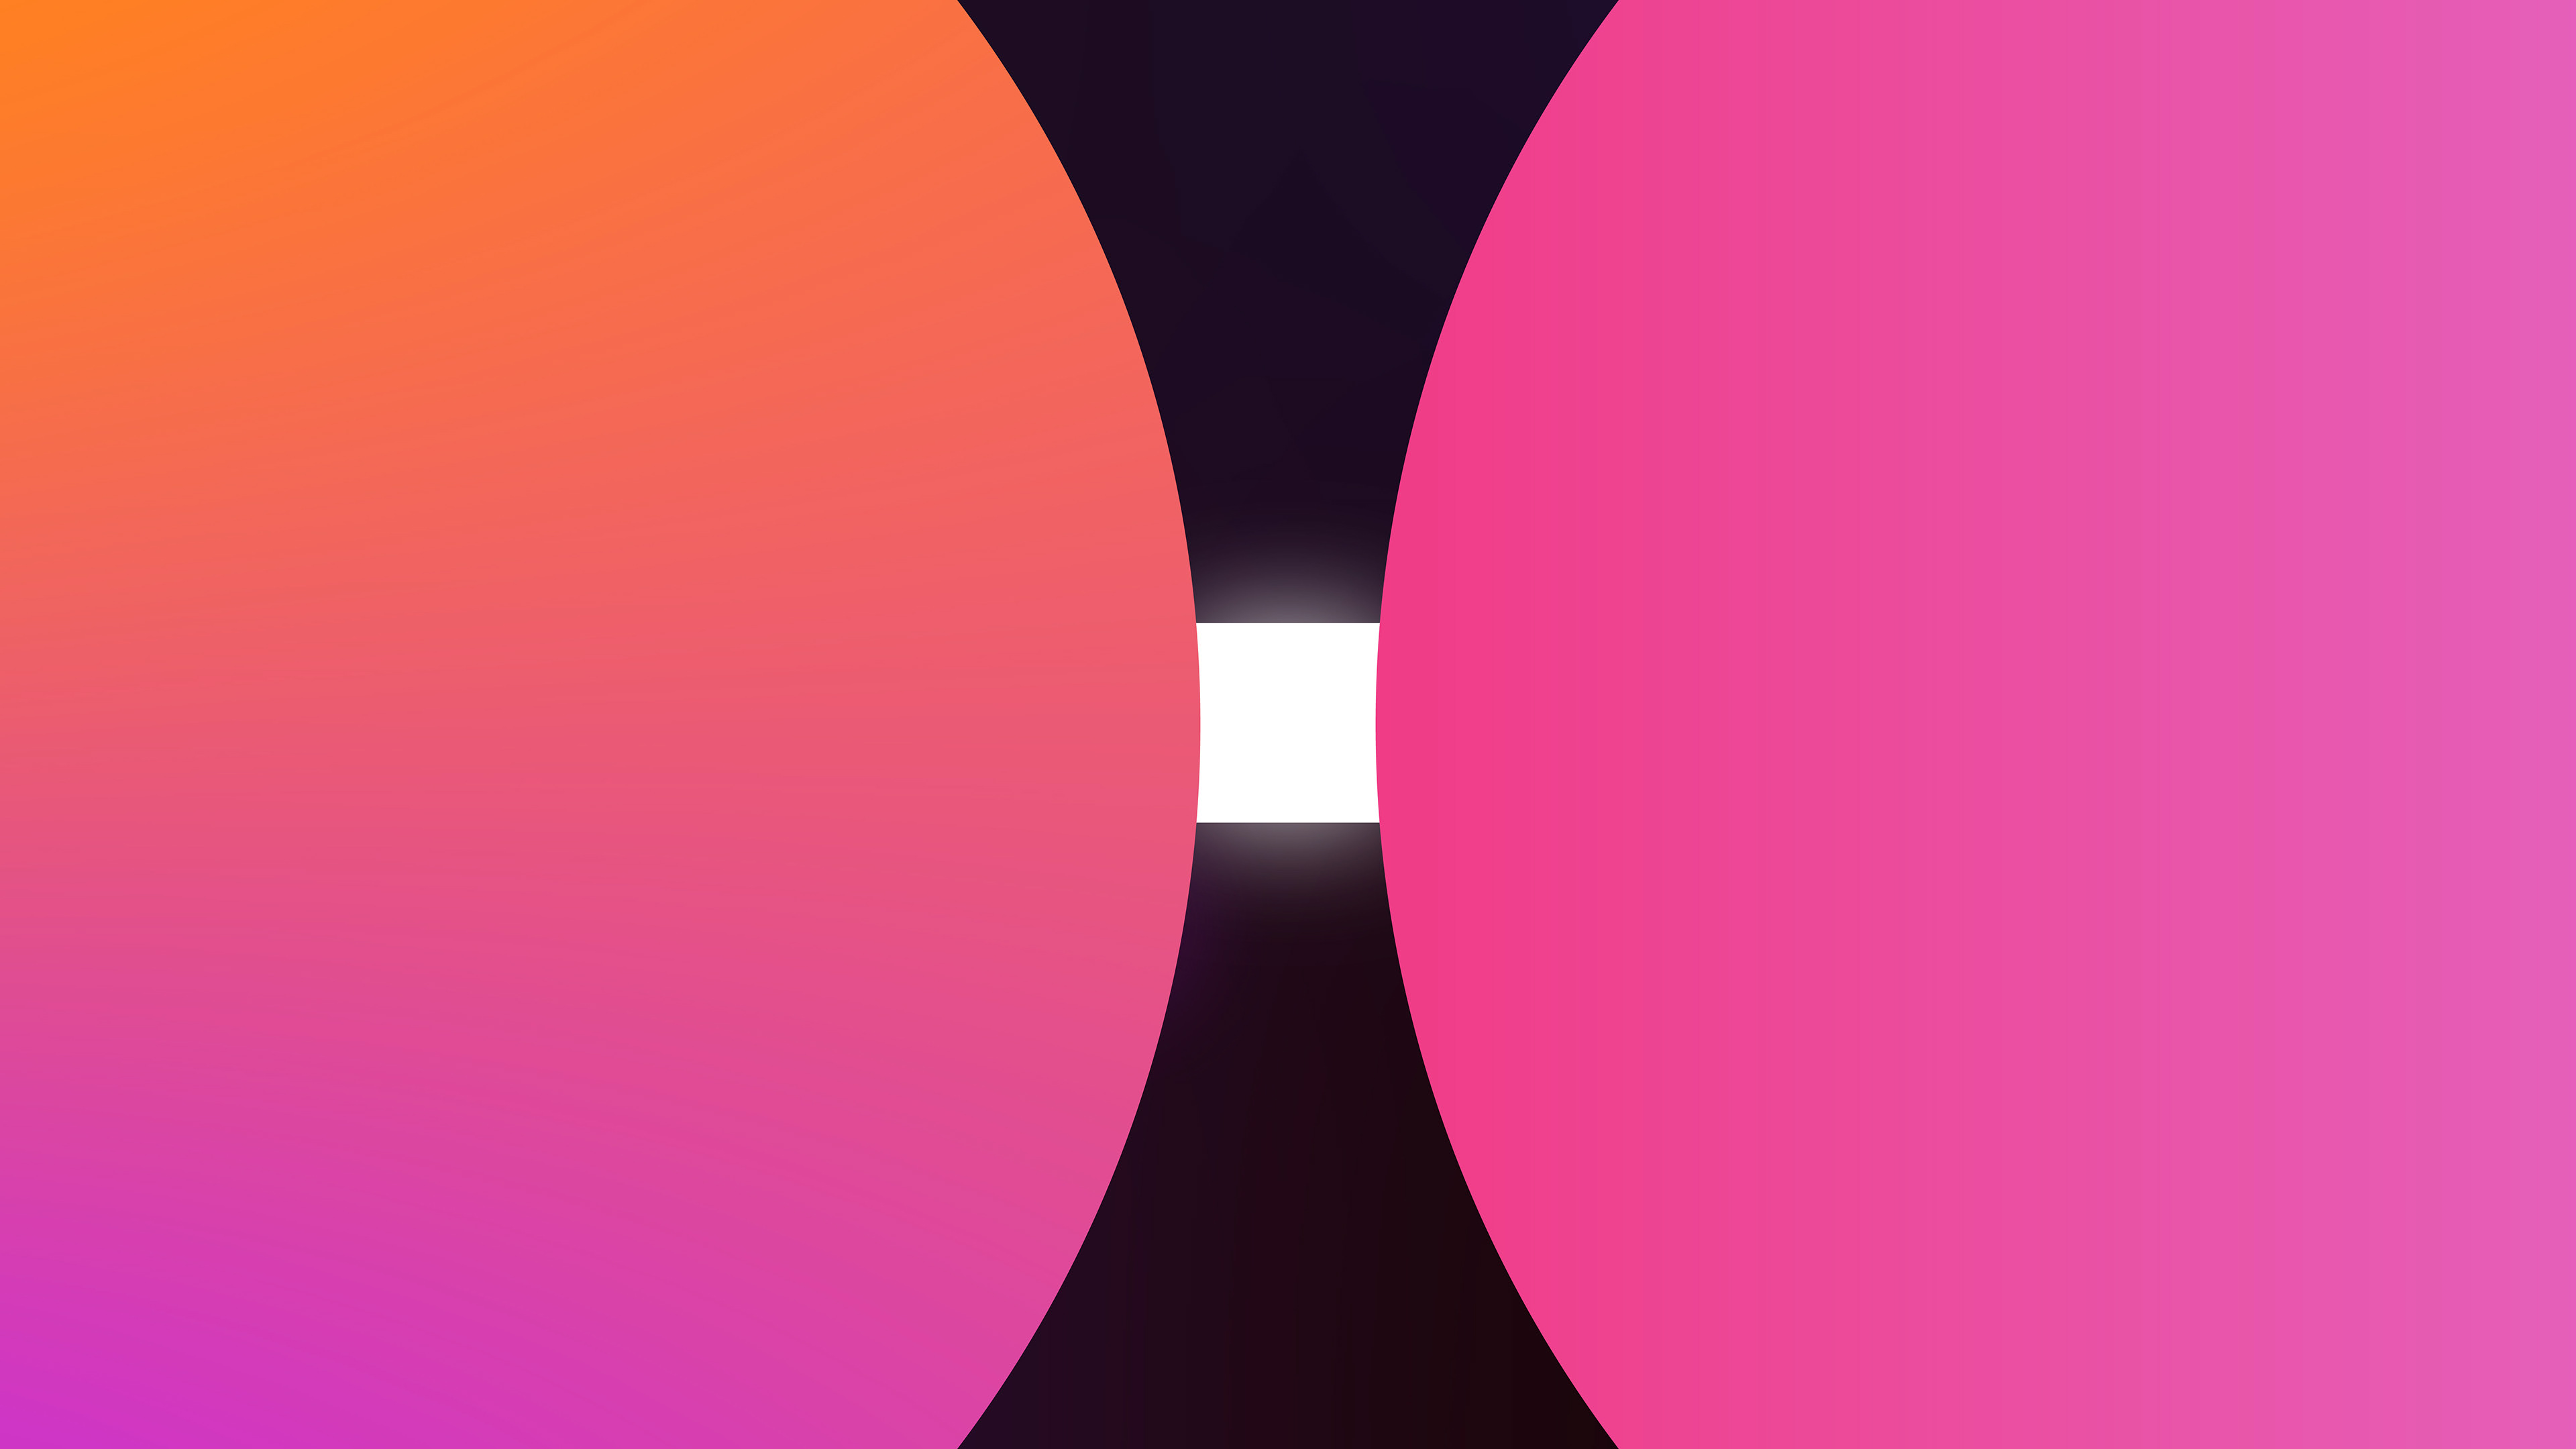
My concept of San Diego Design Week (SDDW) 2023 is focused on an important element of contemporary design style: gradients. The logo is inspired by both, the beautiful gradients seen in nature, particularly those of the San Diego sky, and also by the vibrant and fresh designs that are popping in our modern culture,
Both the logo and the event promo are meant to showcase the vibrant color palette, and the bold abstract shapes that characterize SDDW.
Check out my SDDW 2023 logo design, and some of my process down below!
Logo Design
Process
I started my SDDW Ad process by storyboarding...
Well, actually... I picked the sound first! I love synchronization, and knew I wanted a synchronized piece. But, after choosing my sound (which definitely took a couple of days) I finally started storyboarding.
Timelapse creating rough storyboard
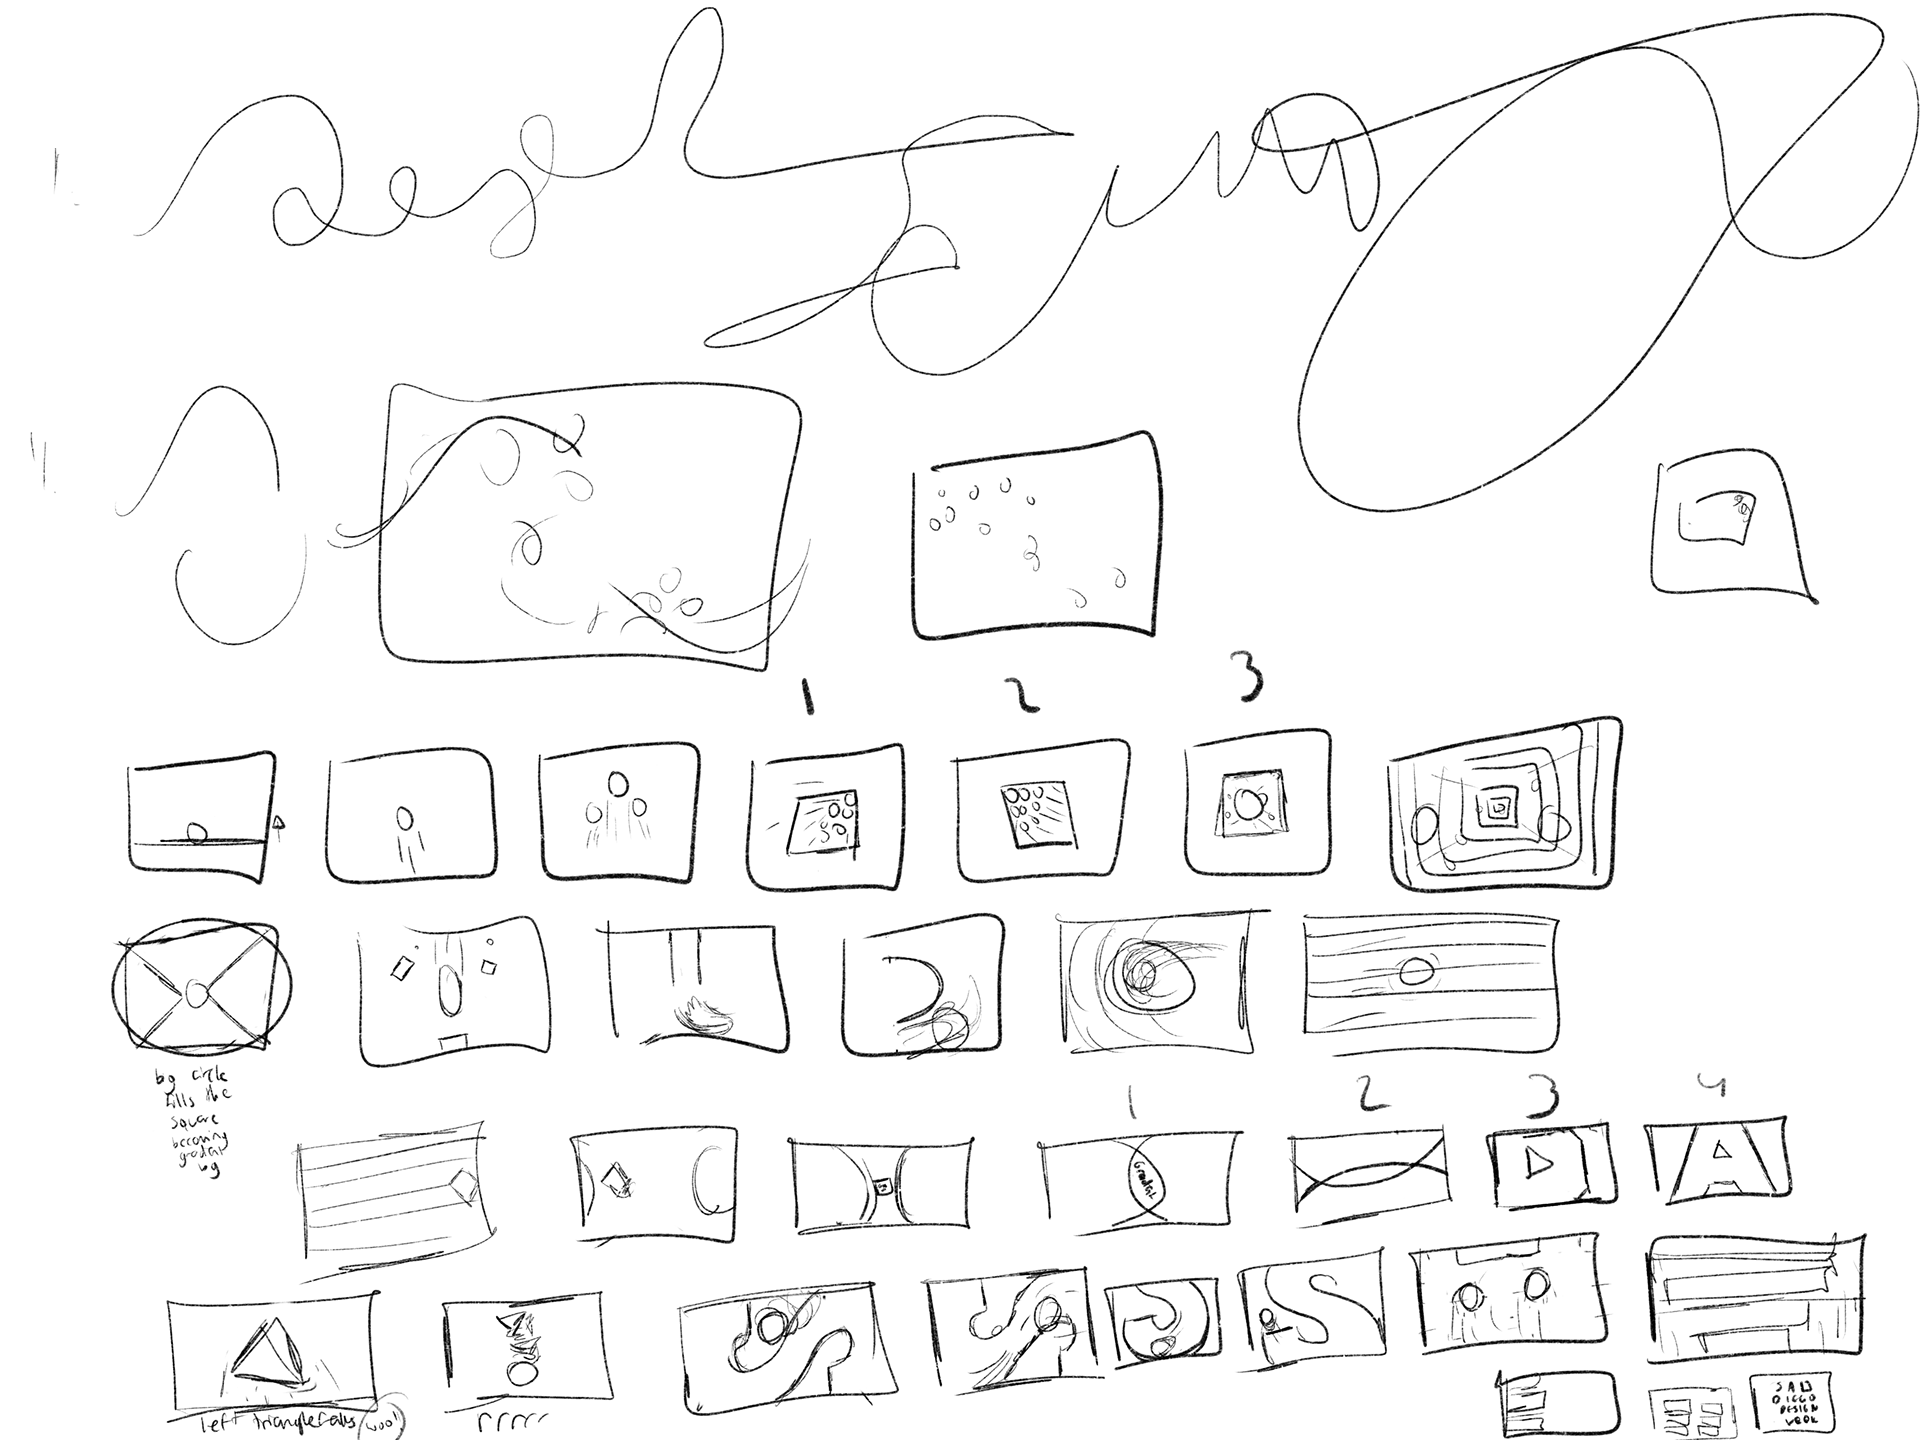
Rough initial storyboard
The point of the rough storyboard was just to get something on paper. In other words, I had to get the creative juices flowing! Instead of aiming for it to be perfect, I just doodled whatever came to mind and then later refined the idea in the final storyboards, as seen below.
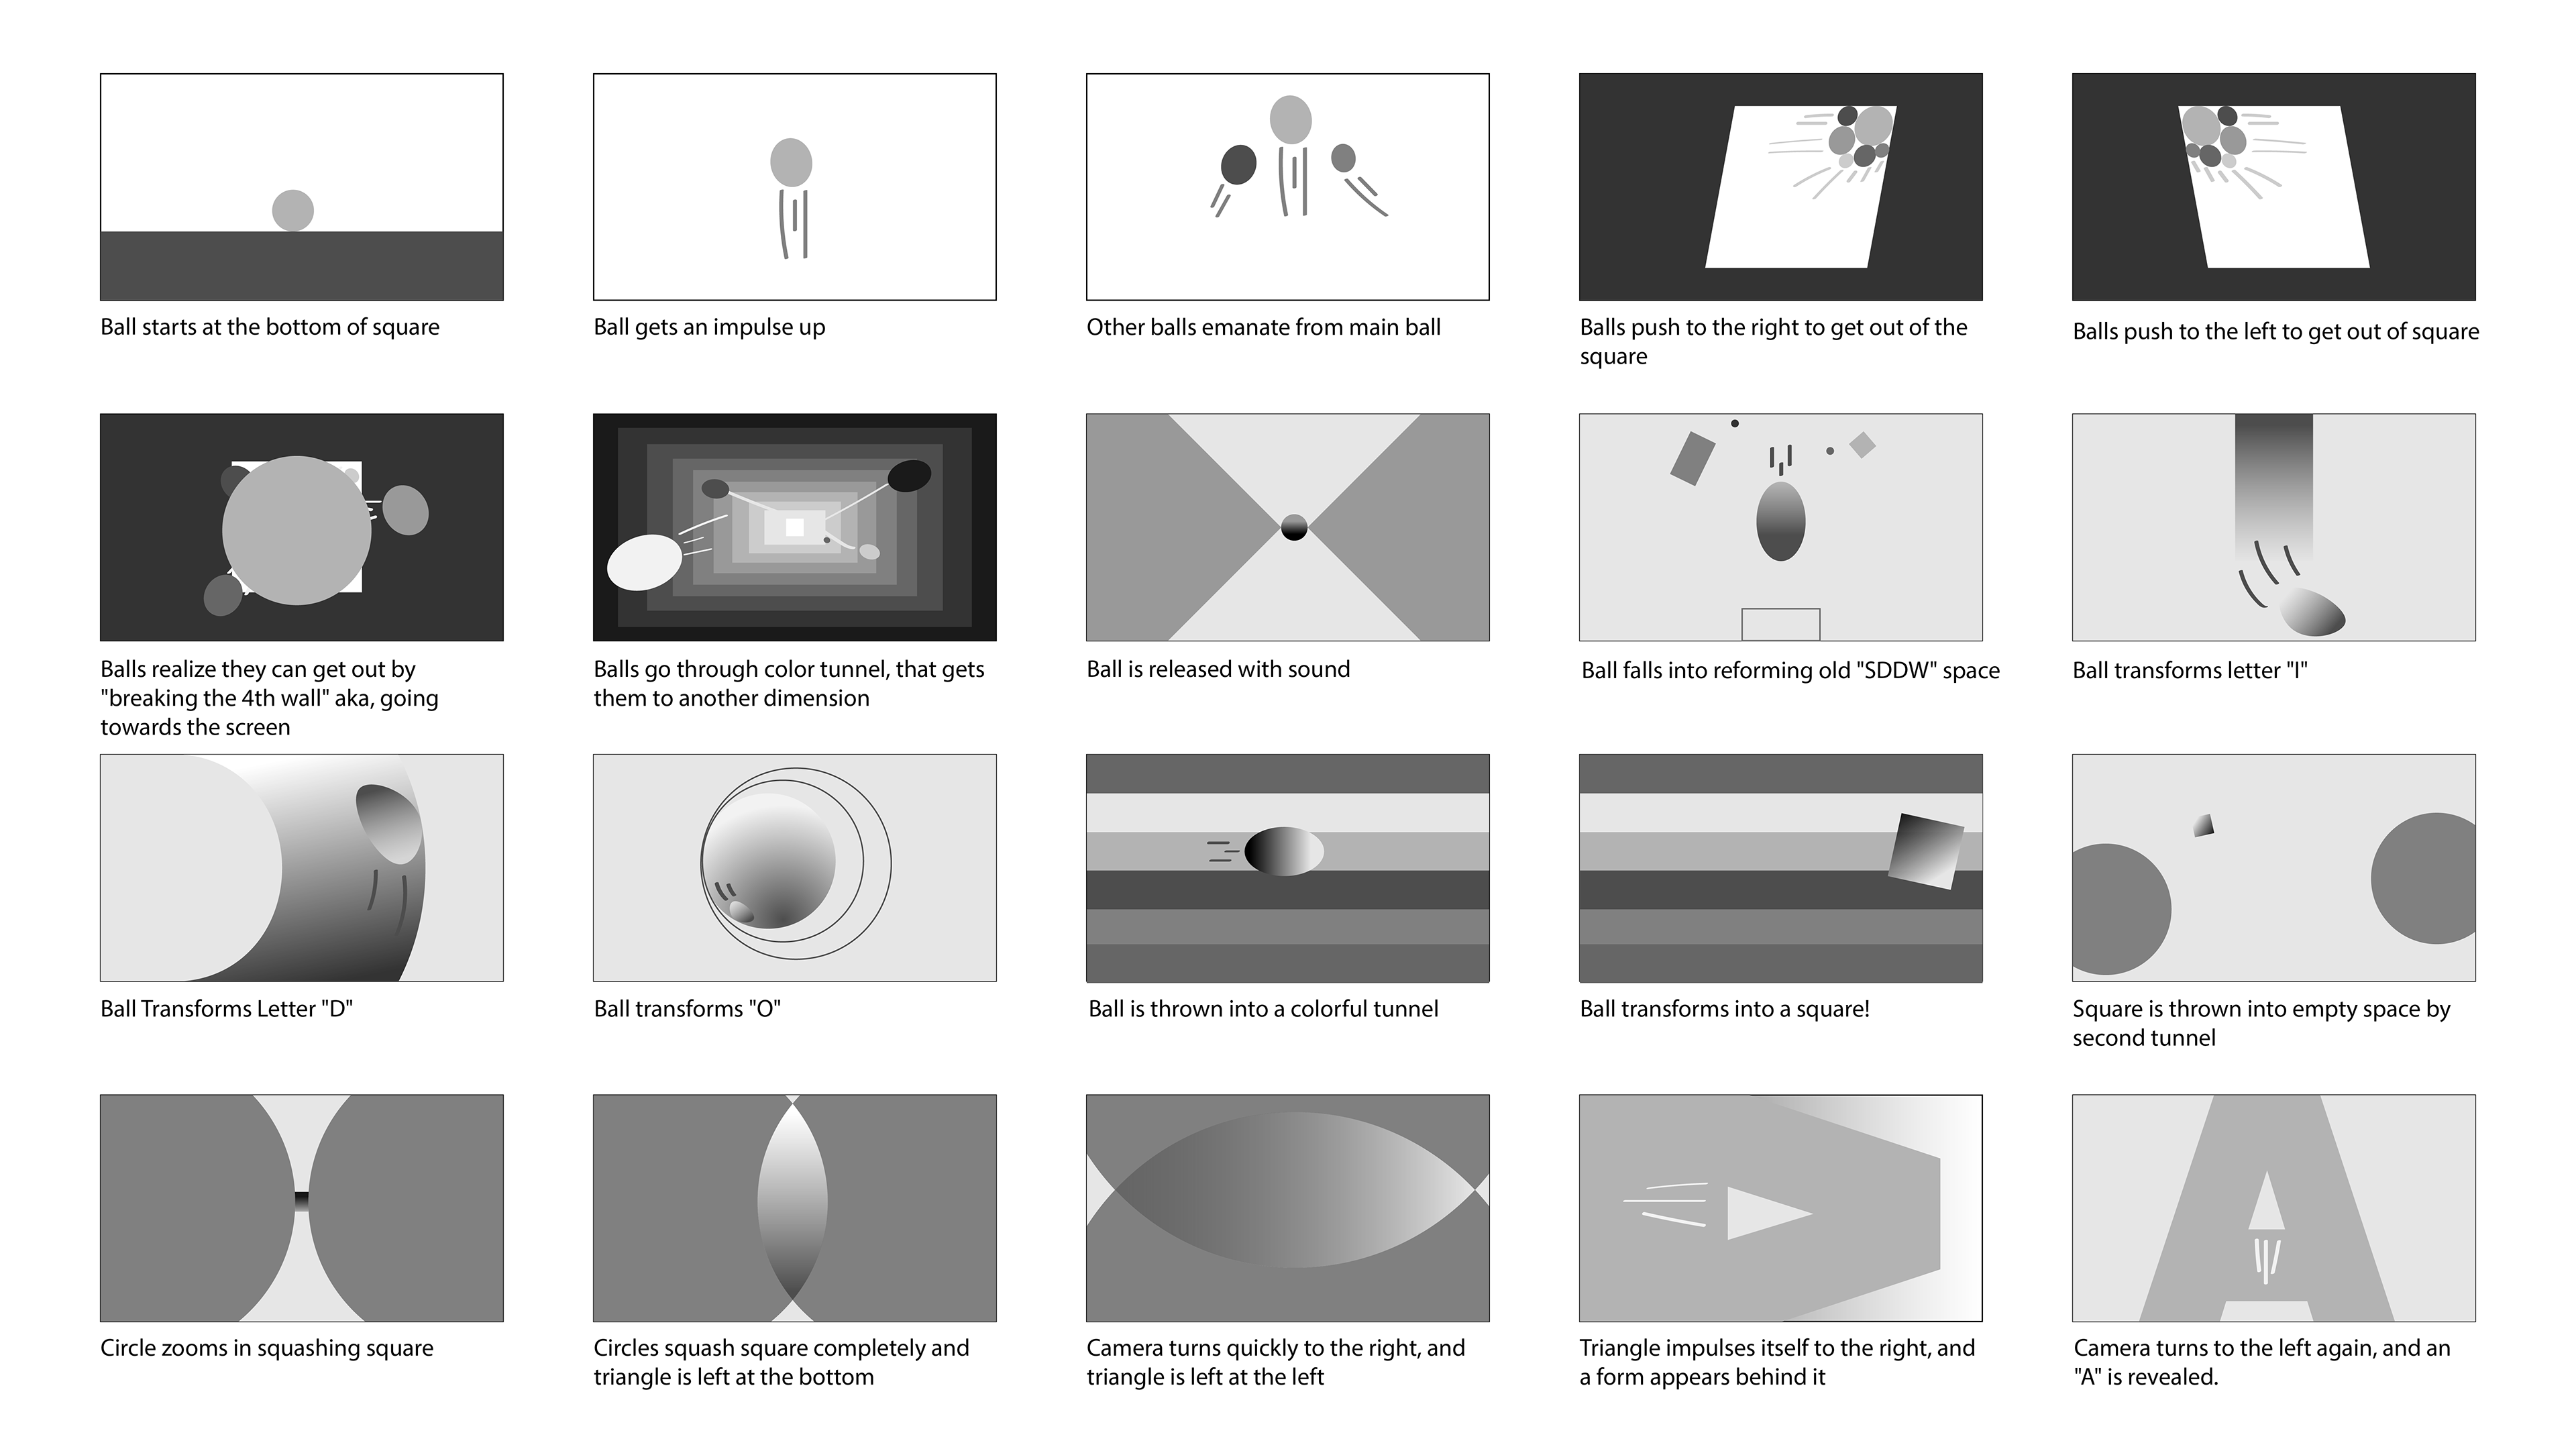
Final Storyboard Page 1
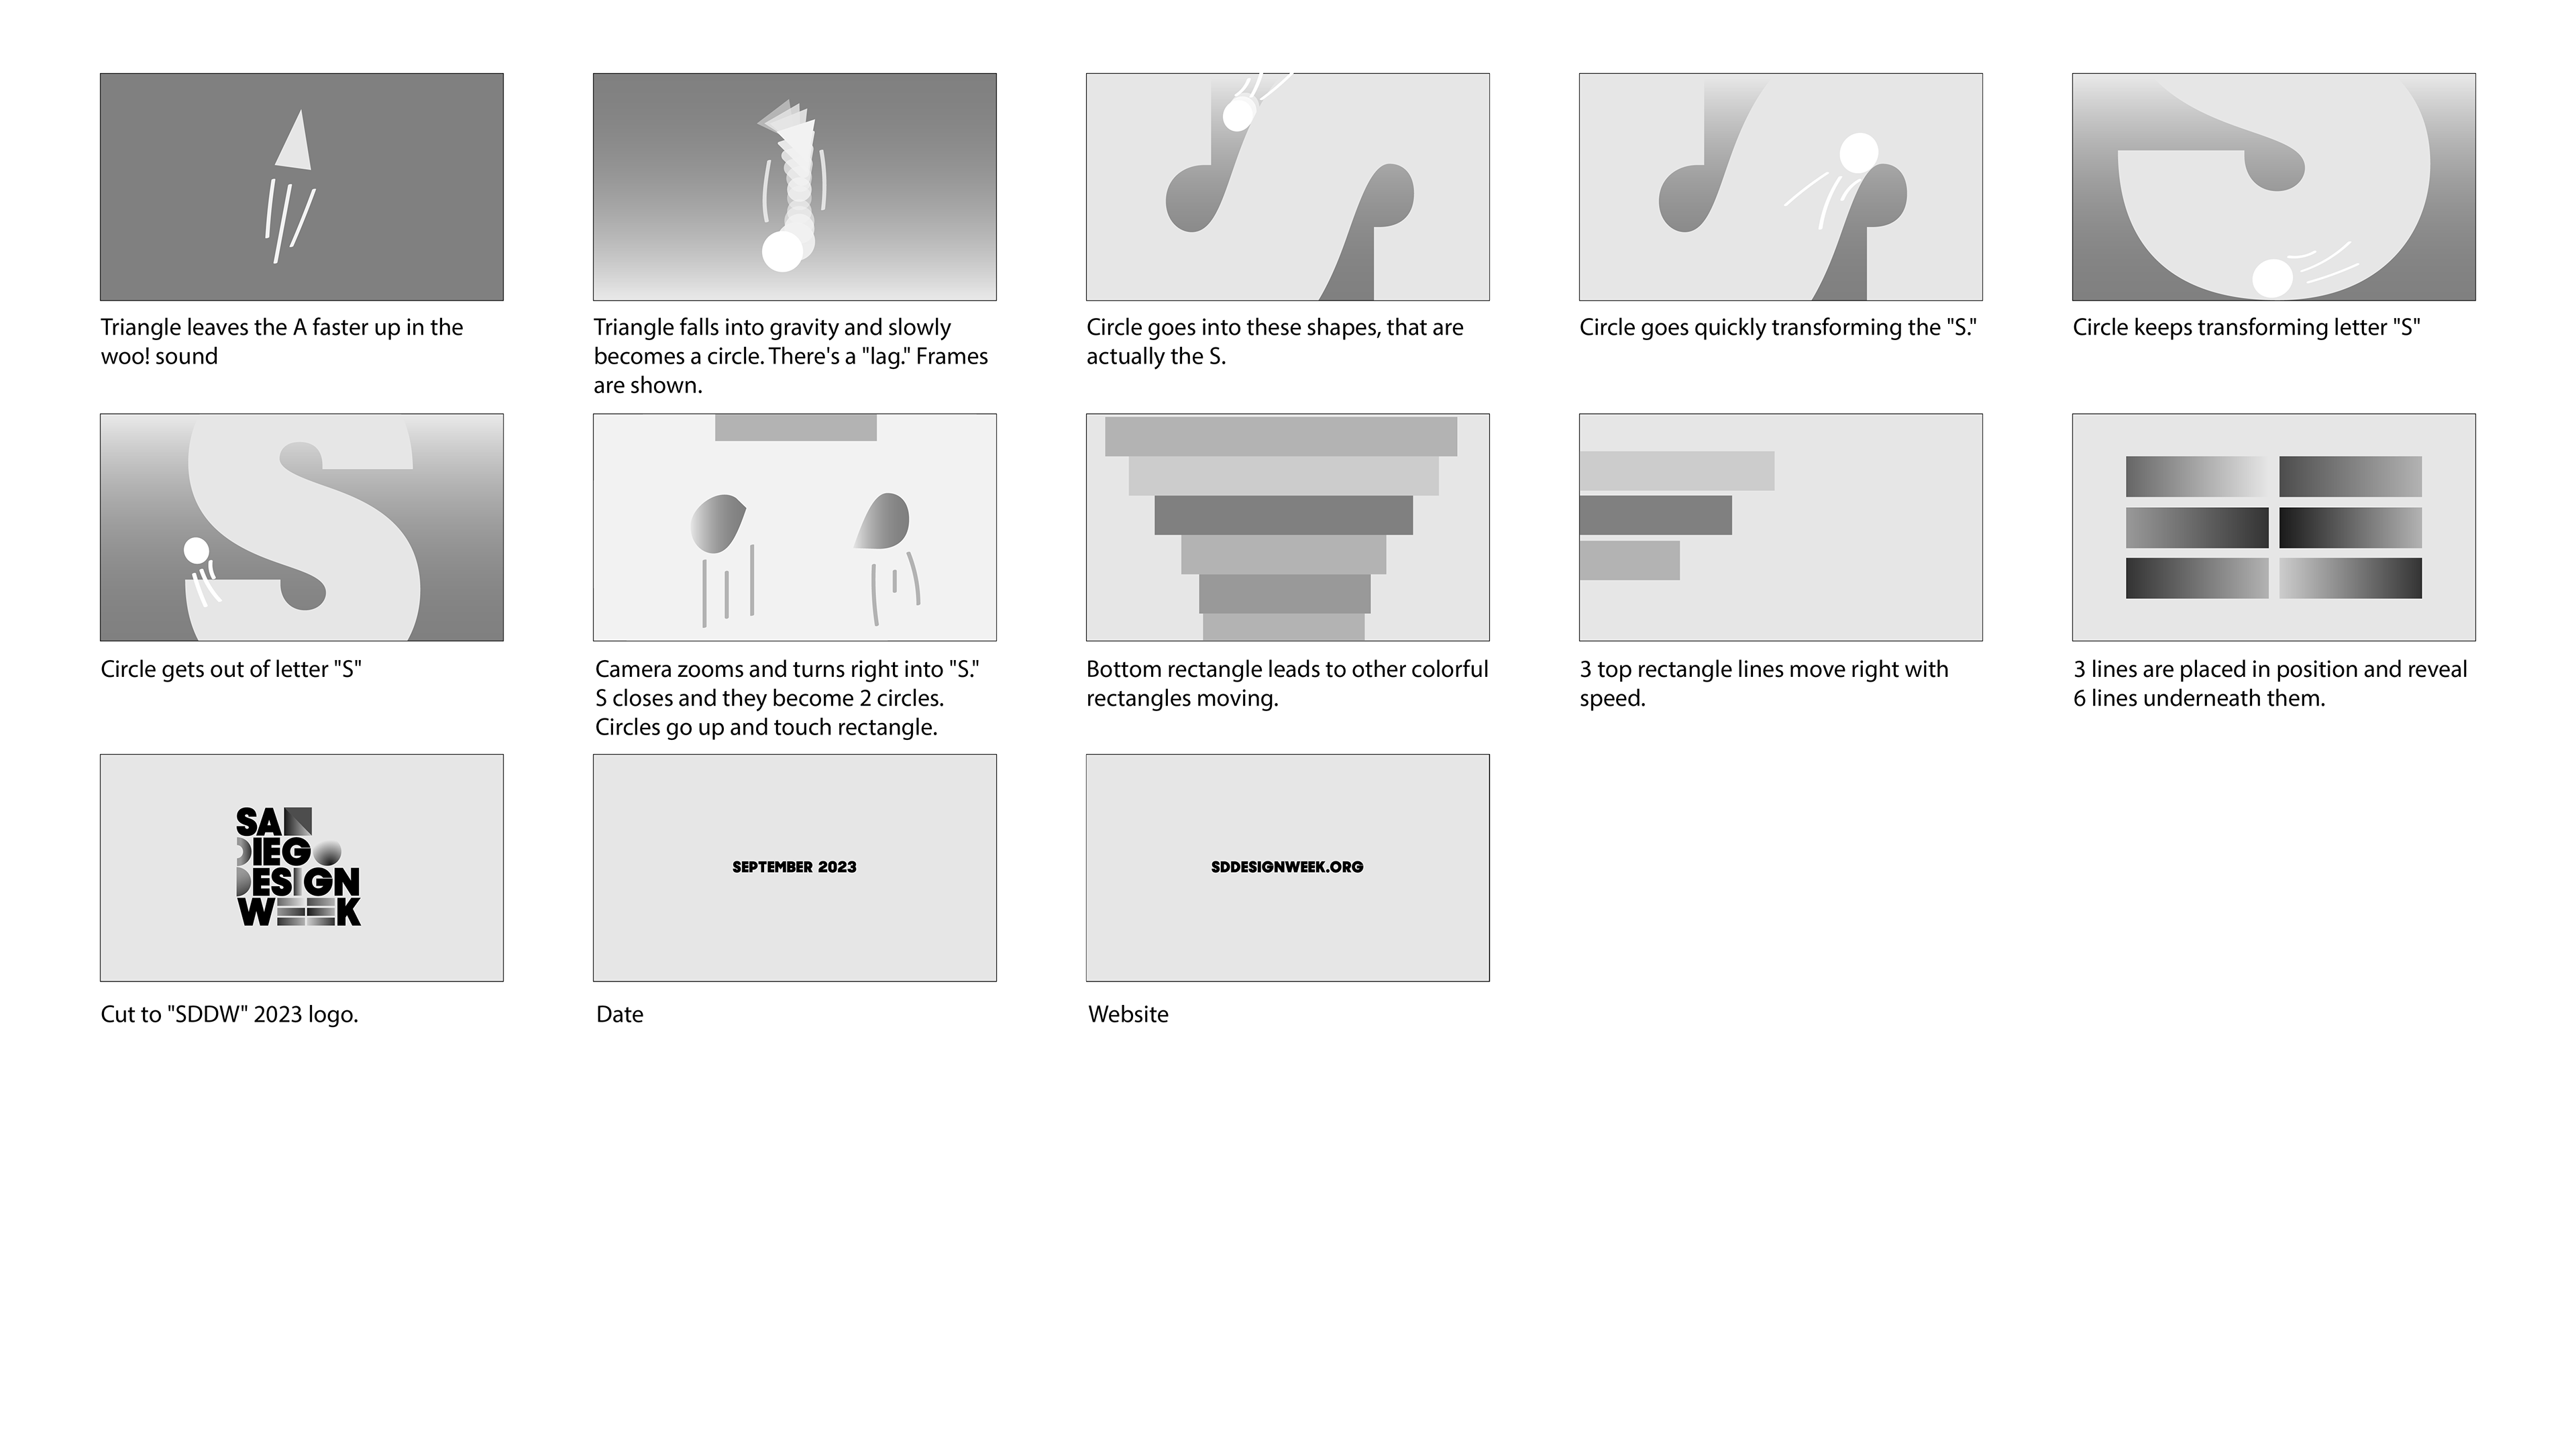
Final Storyboard Page 2
I also did an animatic with the storyboard, just to get a basic sense of timing for each frame.
Animatic with storyboards
After storyboarding, I went into the design phase!
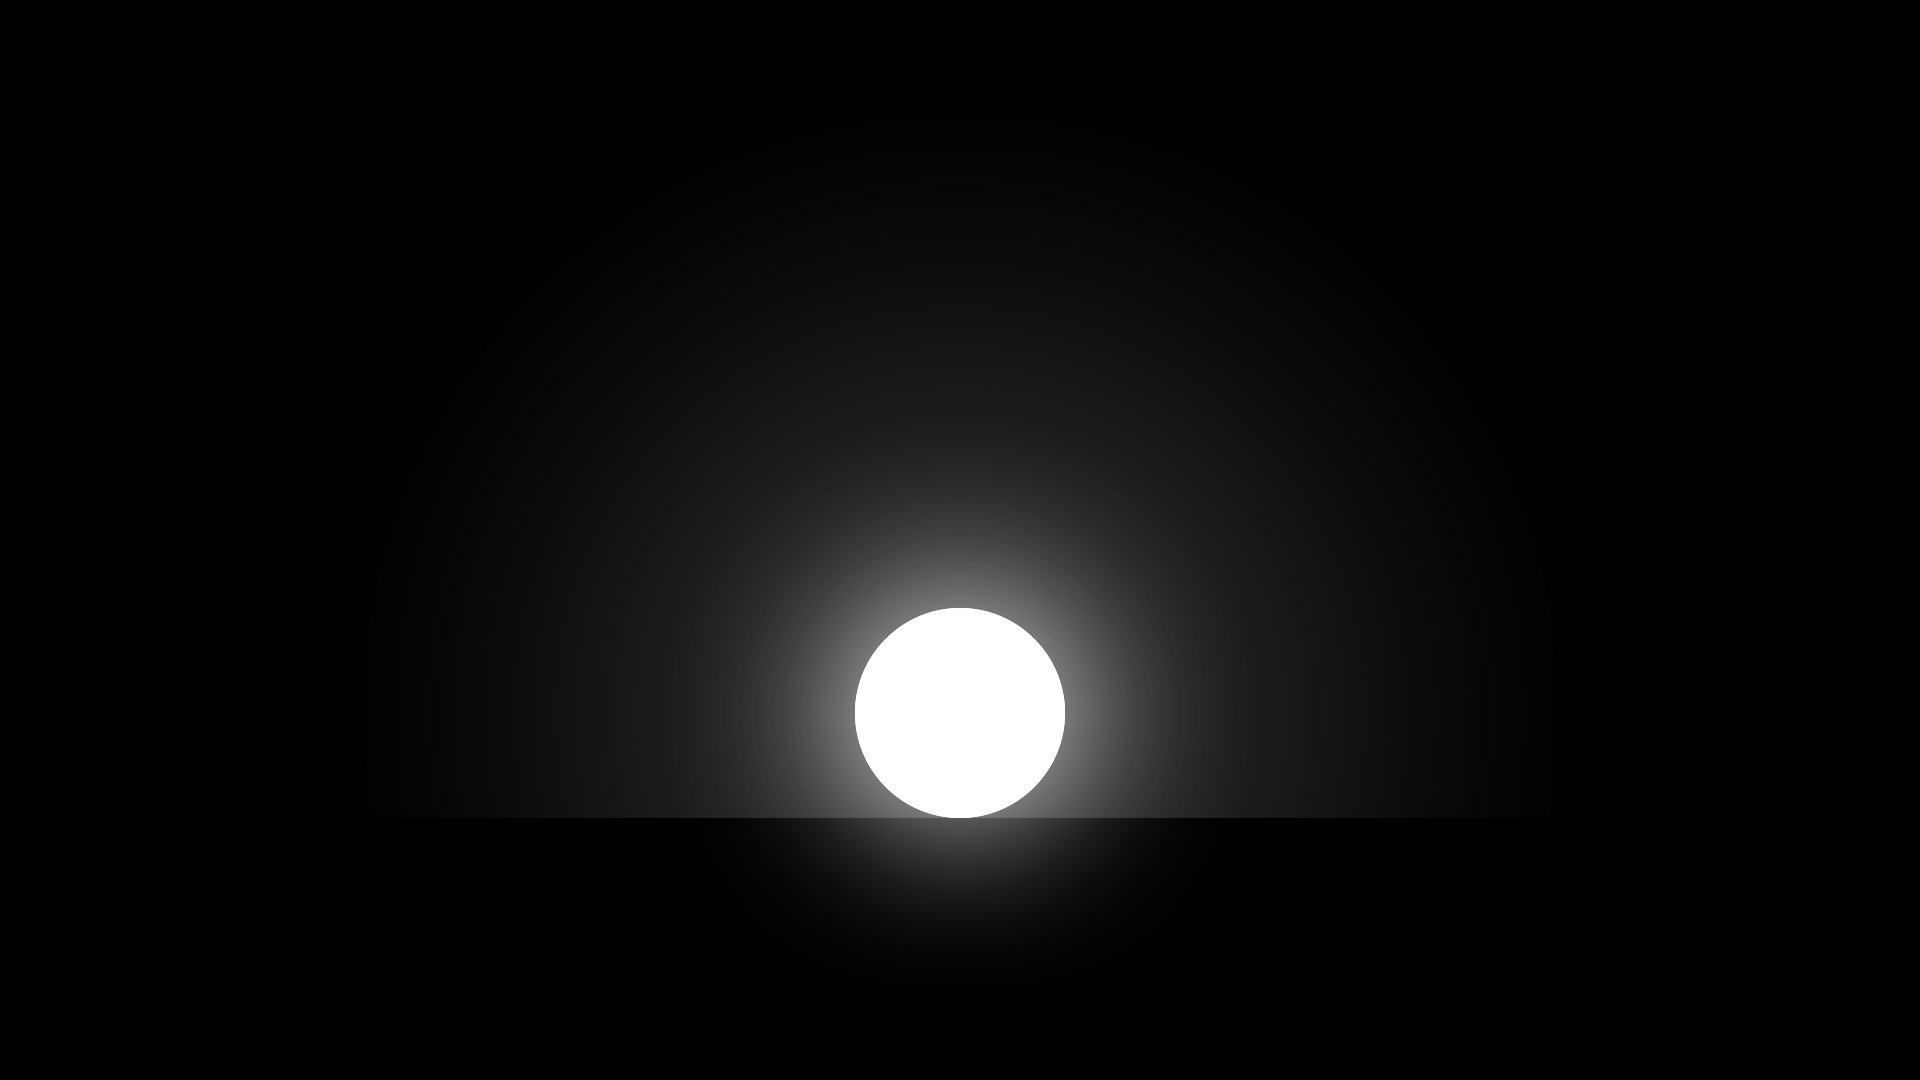
Initial styleframe I did not like, and ended up not using.
Another of my design brainstorms...
I loved this, but it didn't really fit with the storyboard, so I had to discard!

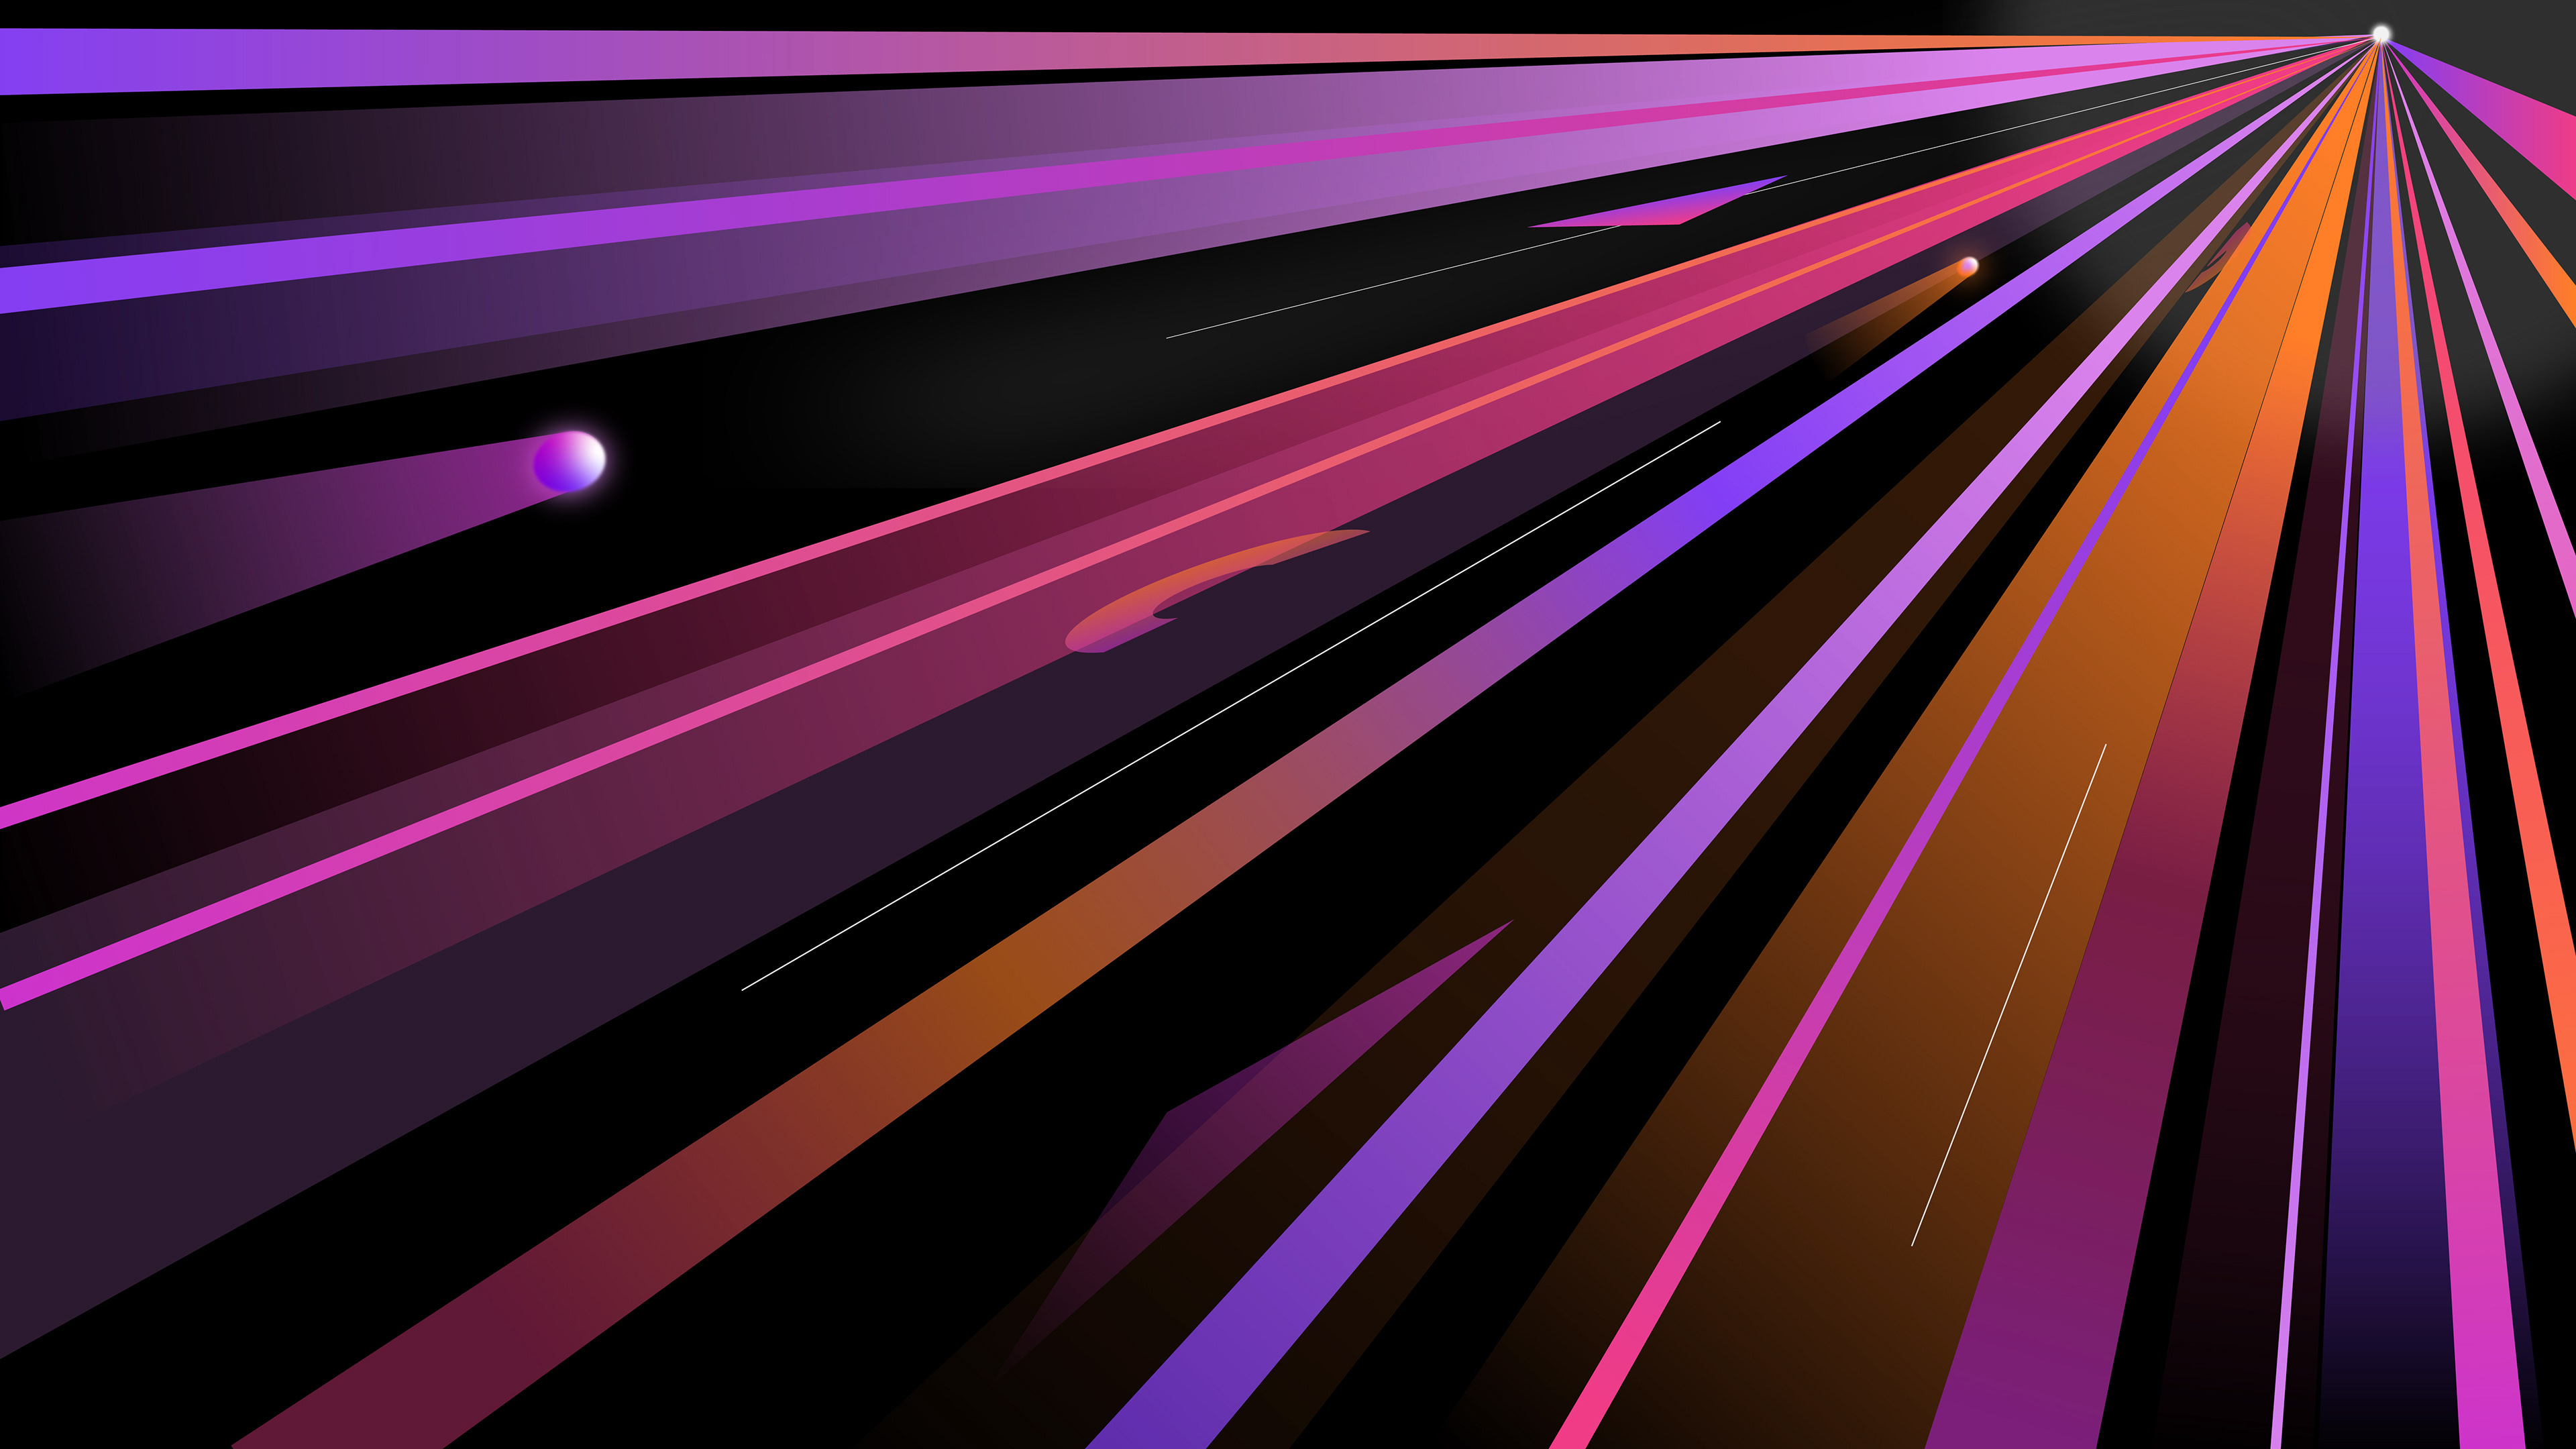
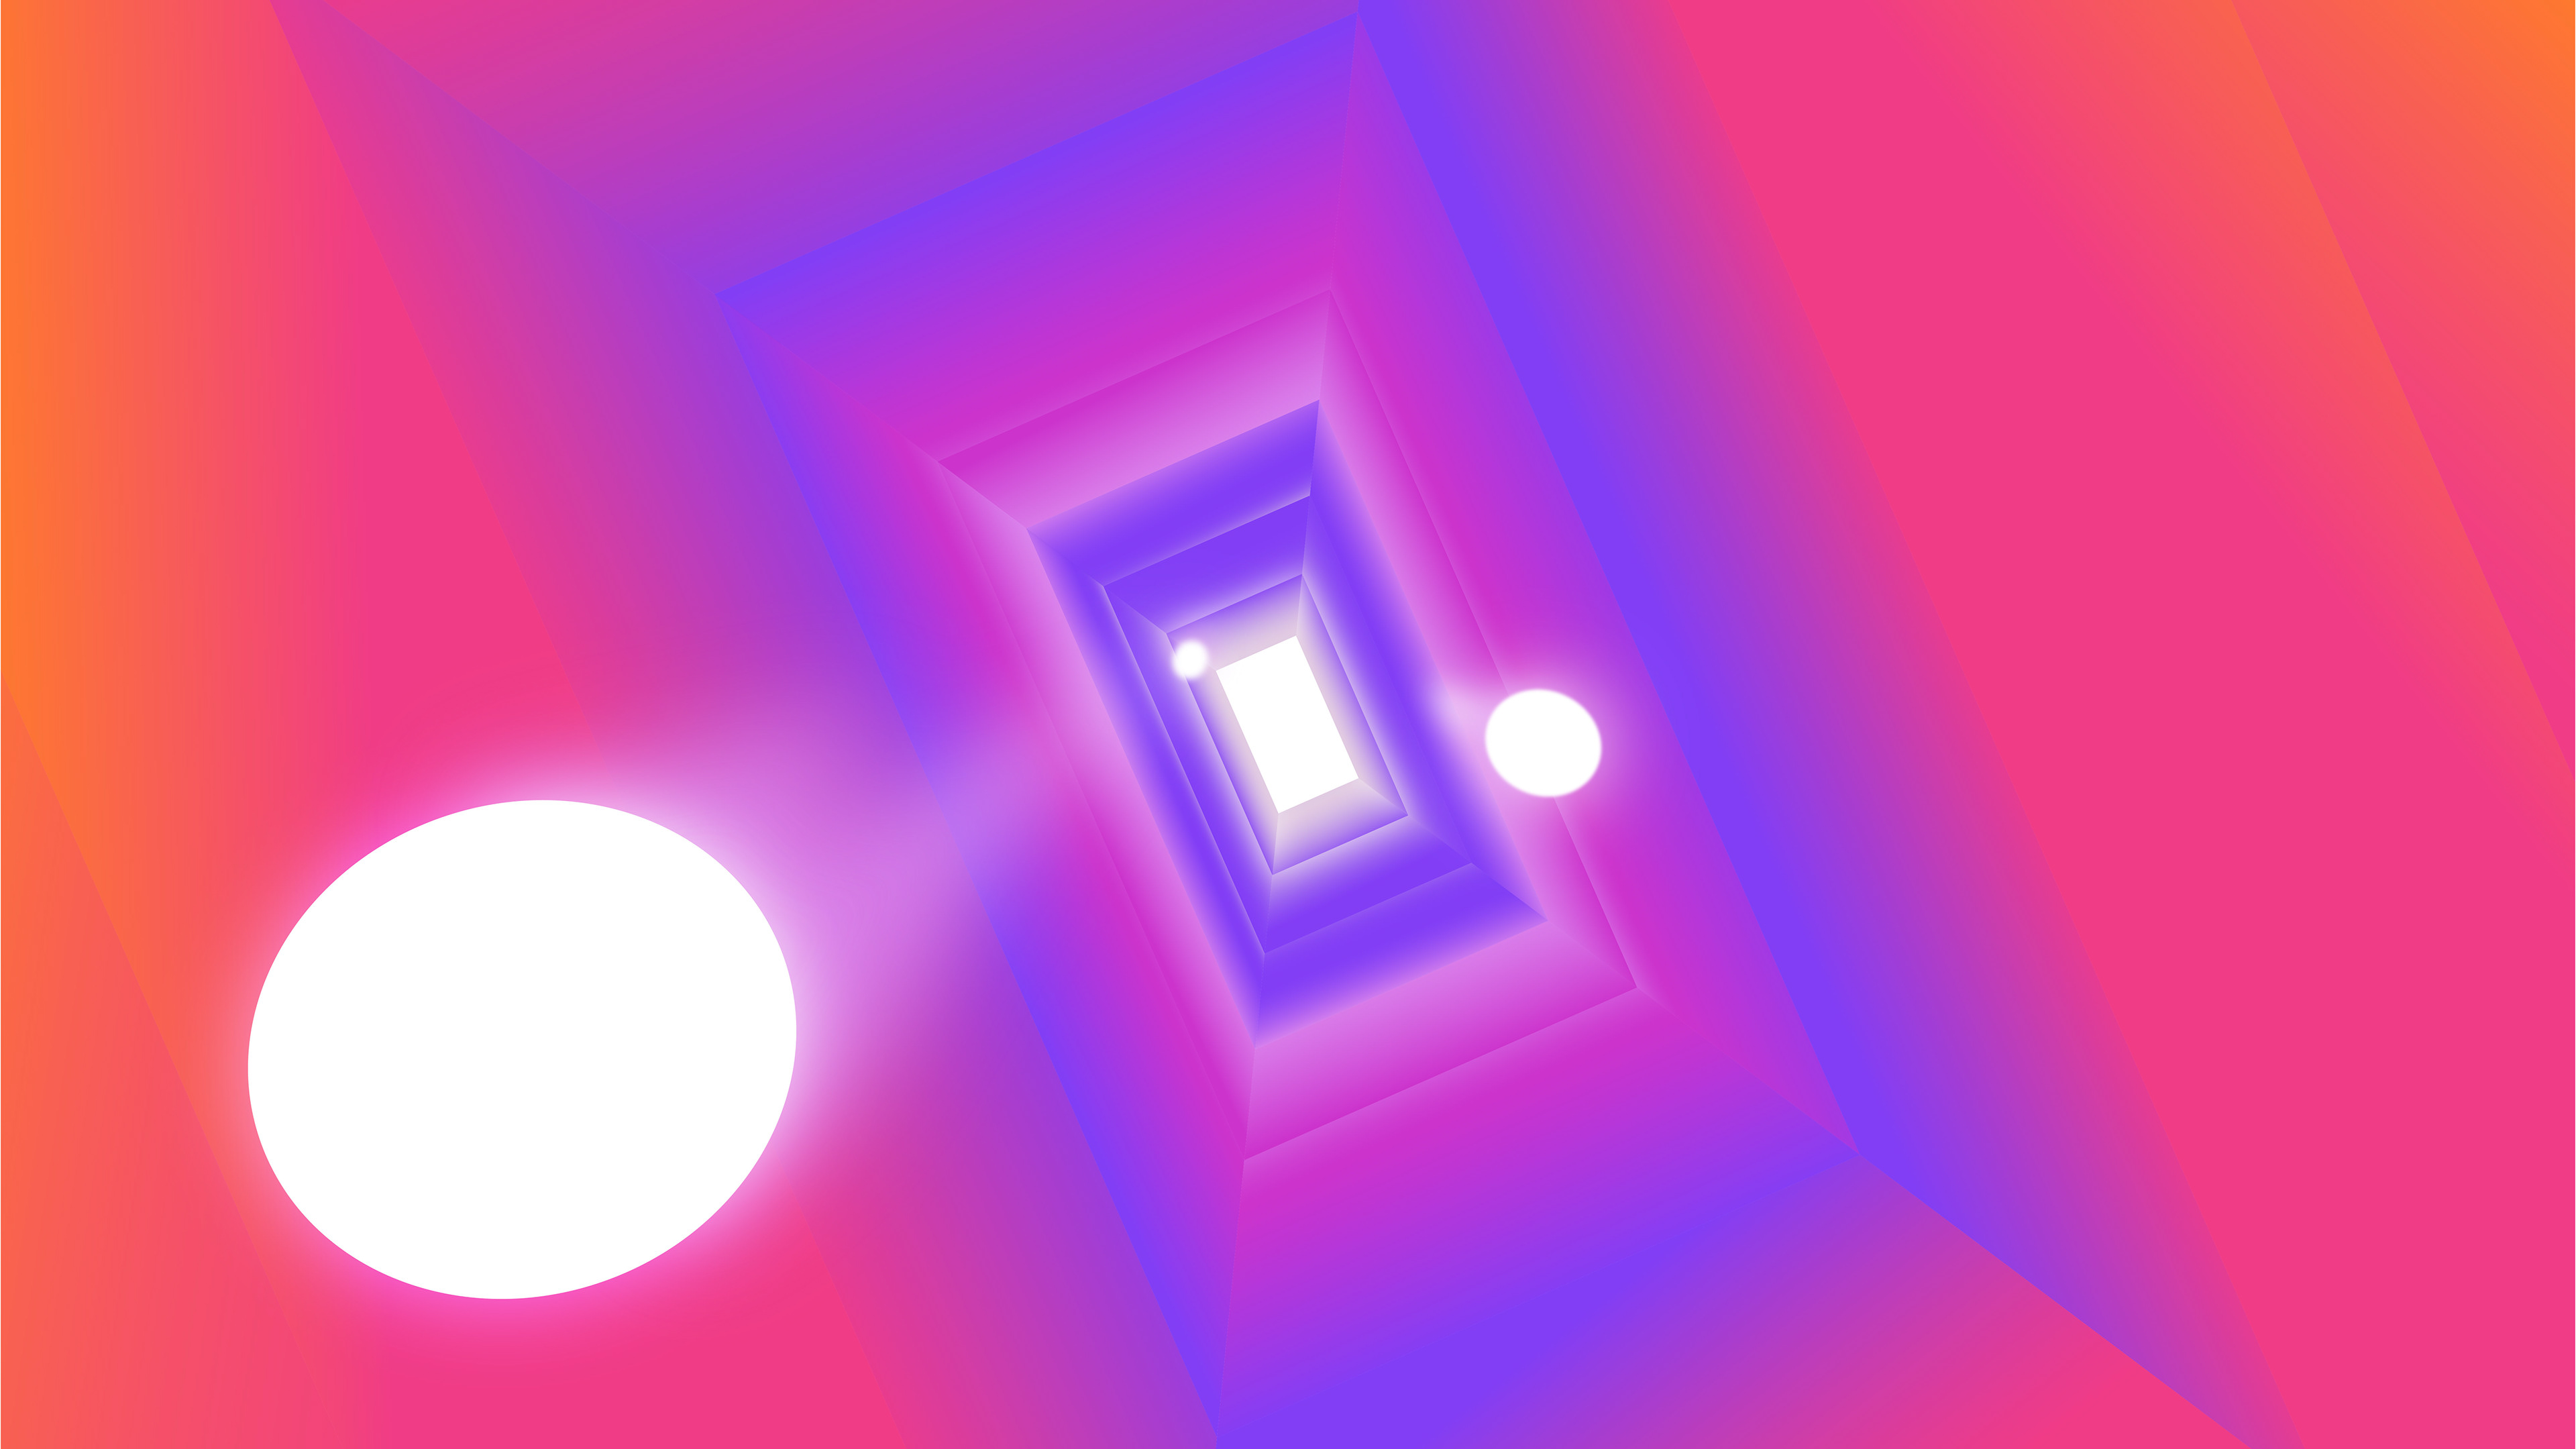
Scene 7, Tunnel Styleframe Process.
Scene 13 and 14 frame process
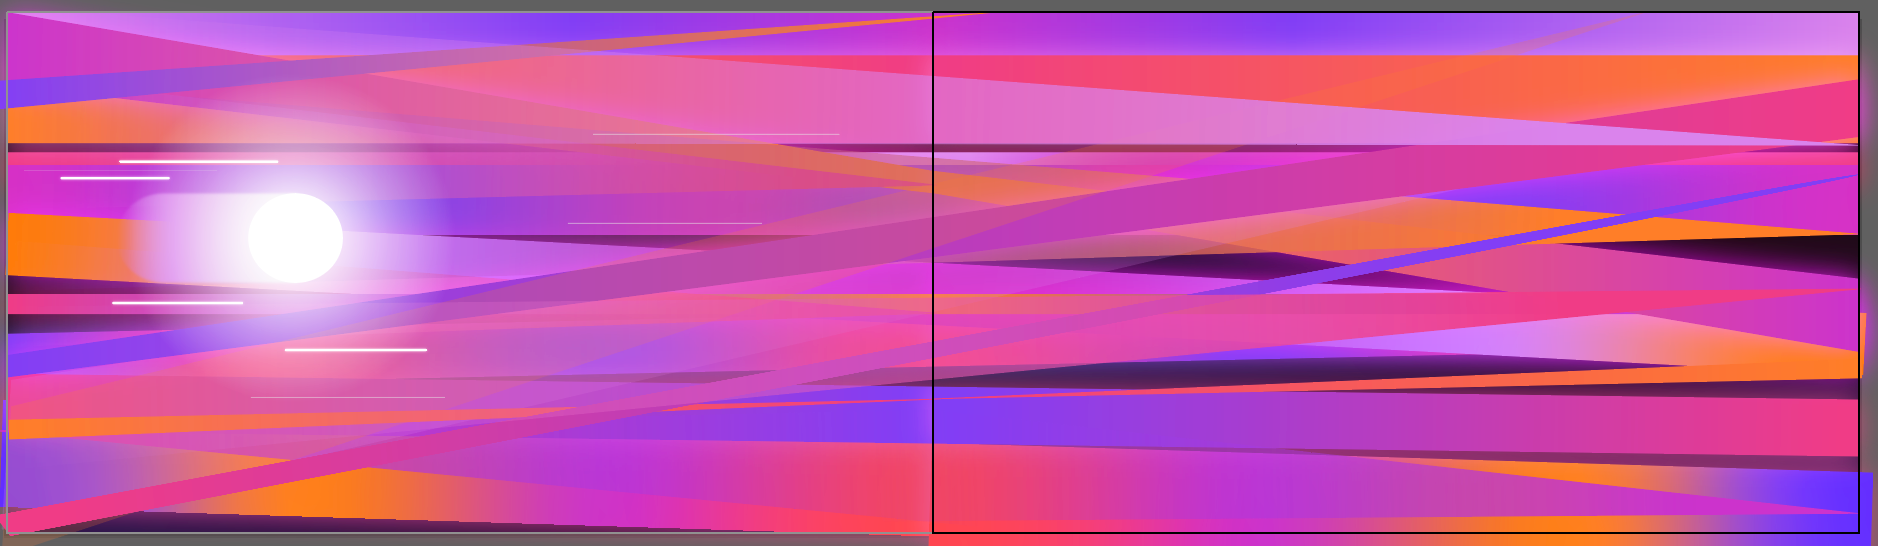
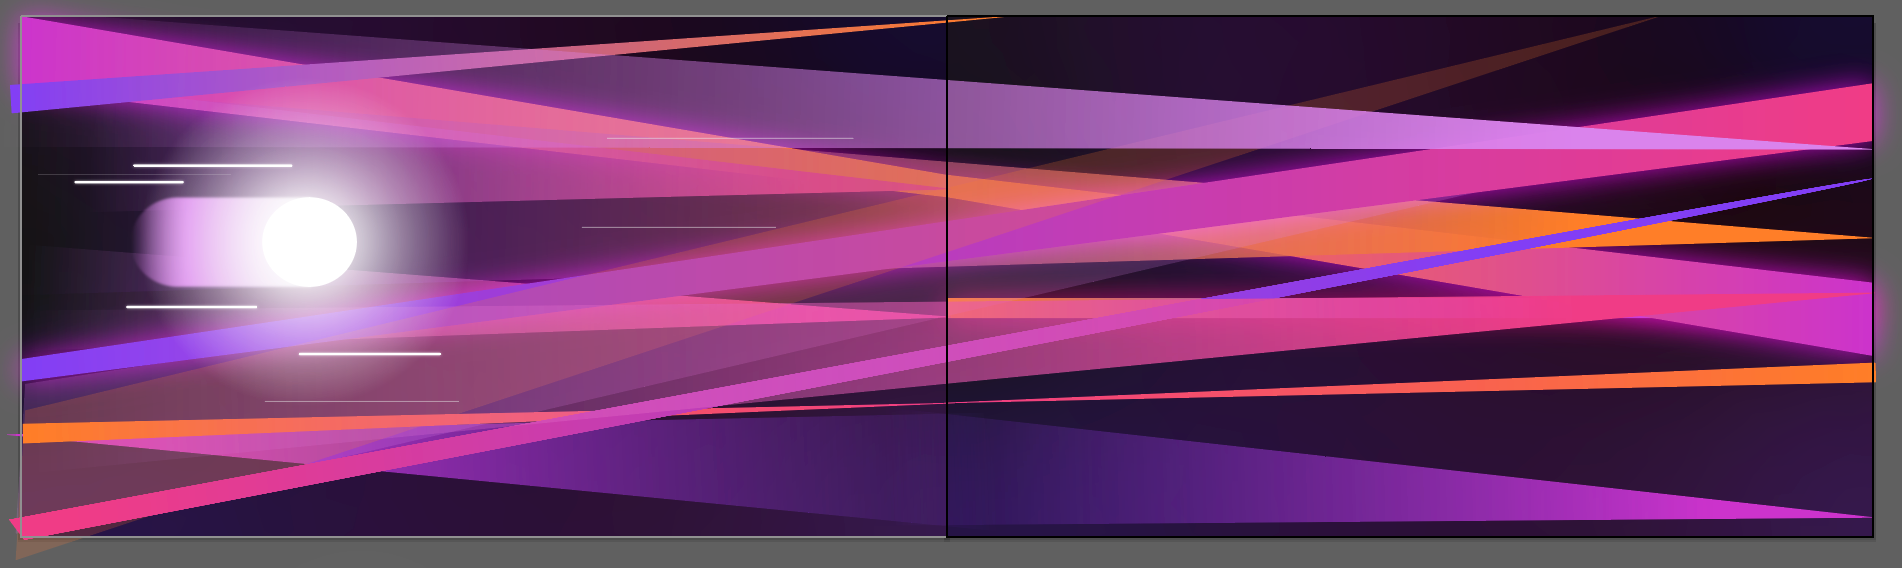
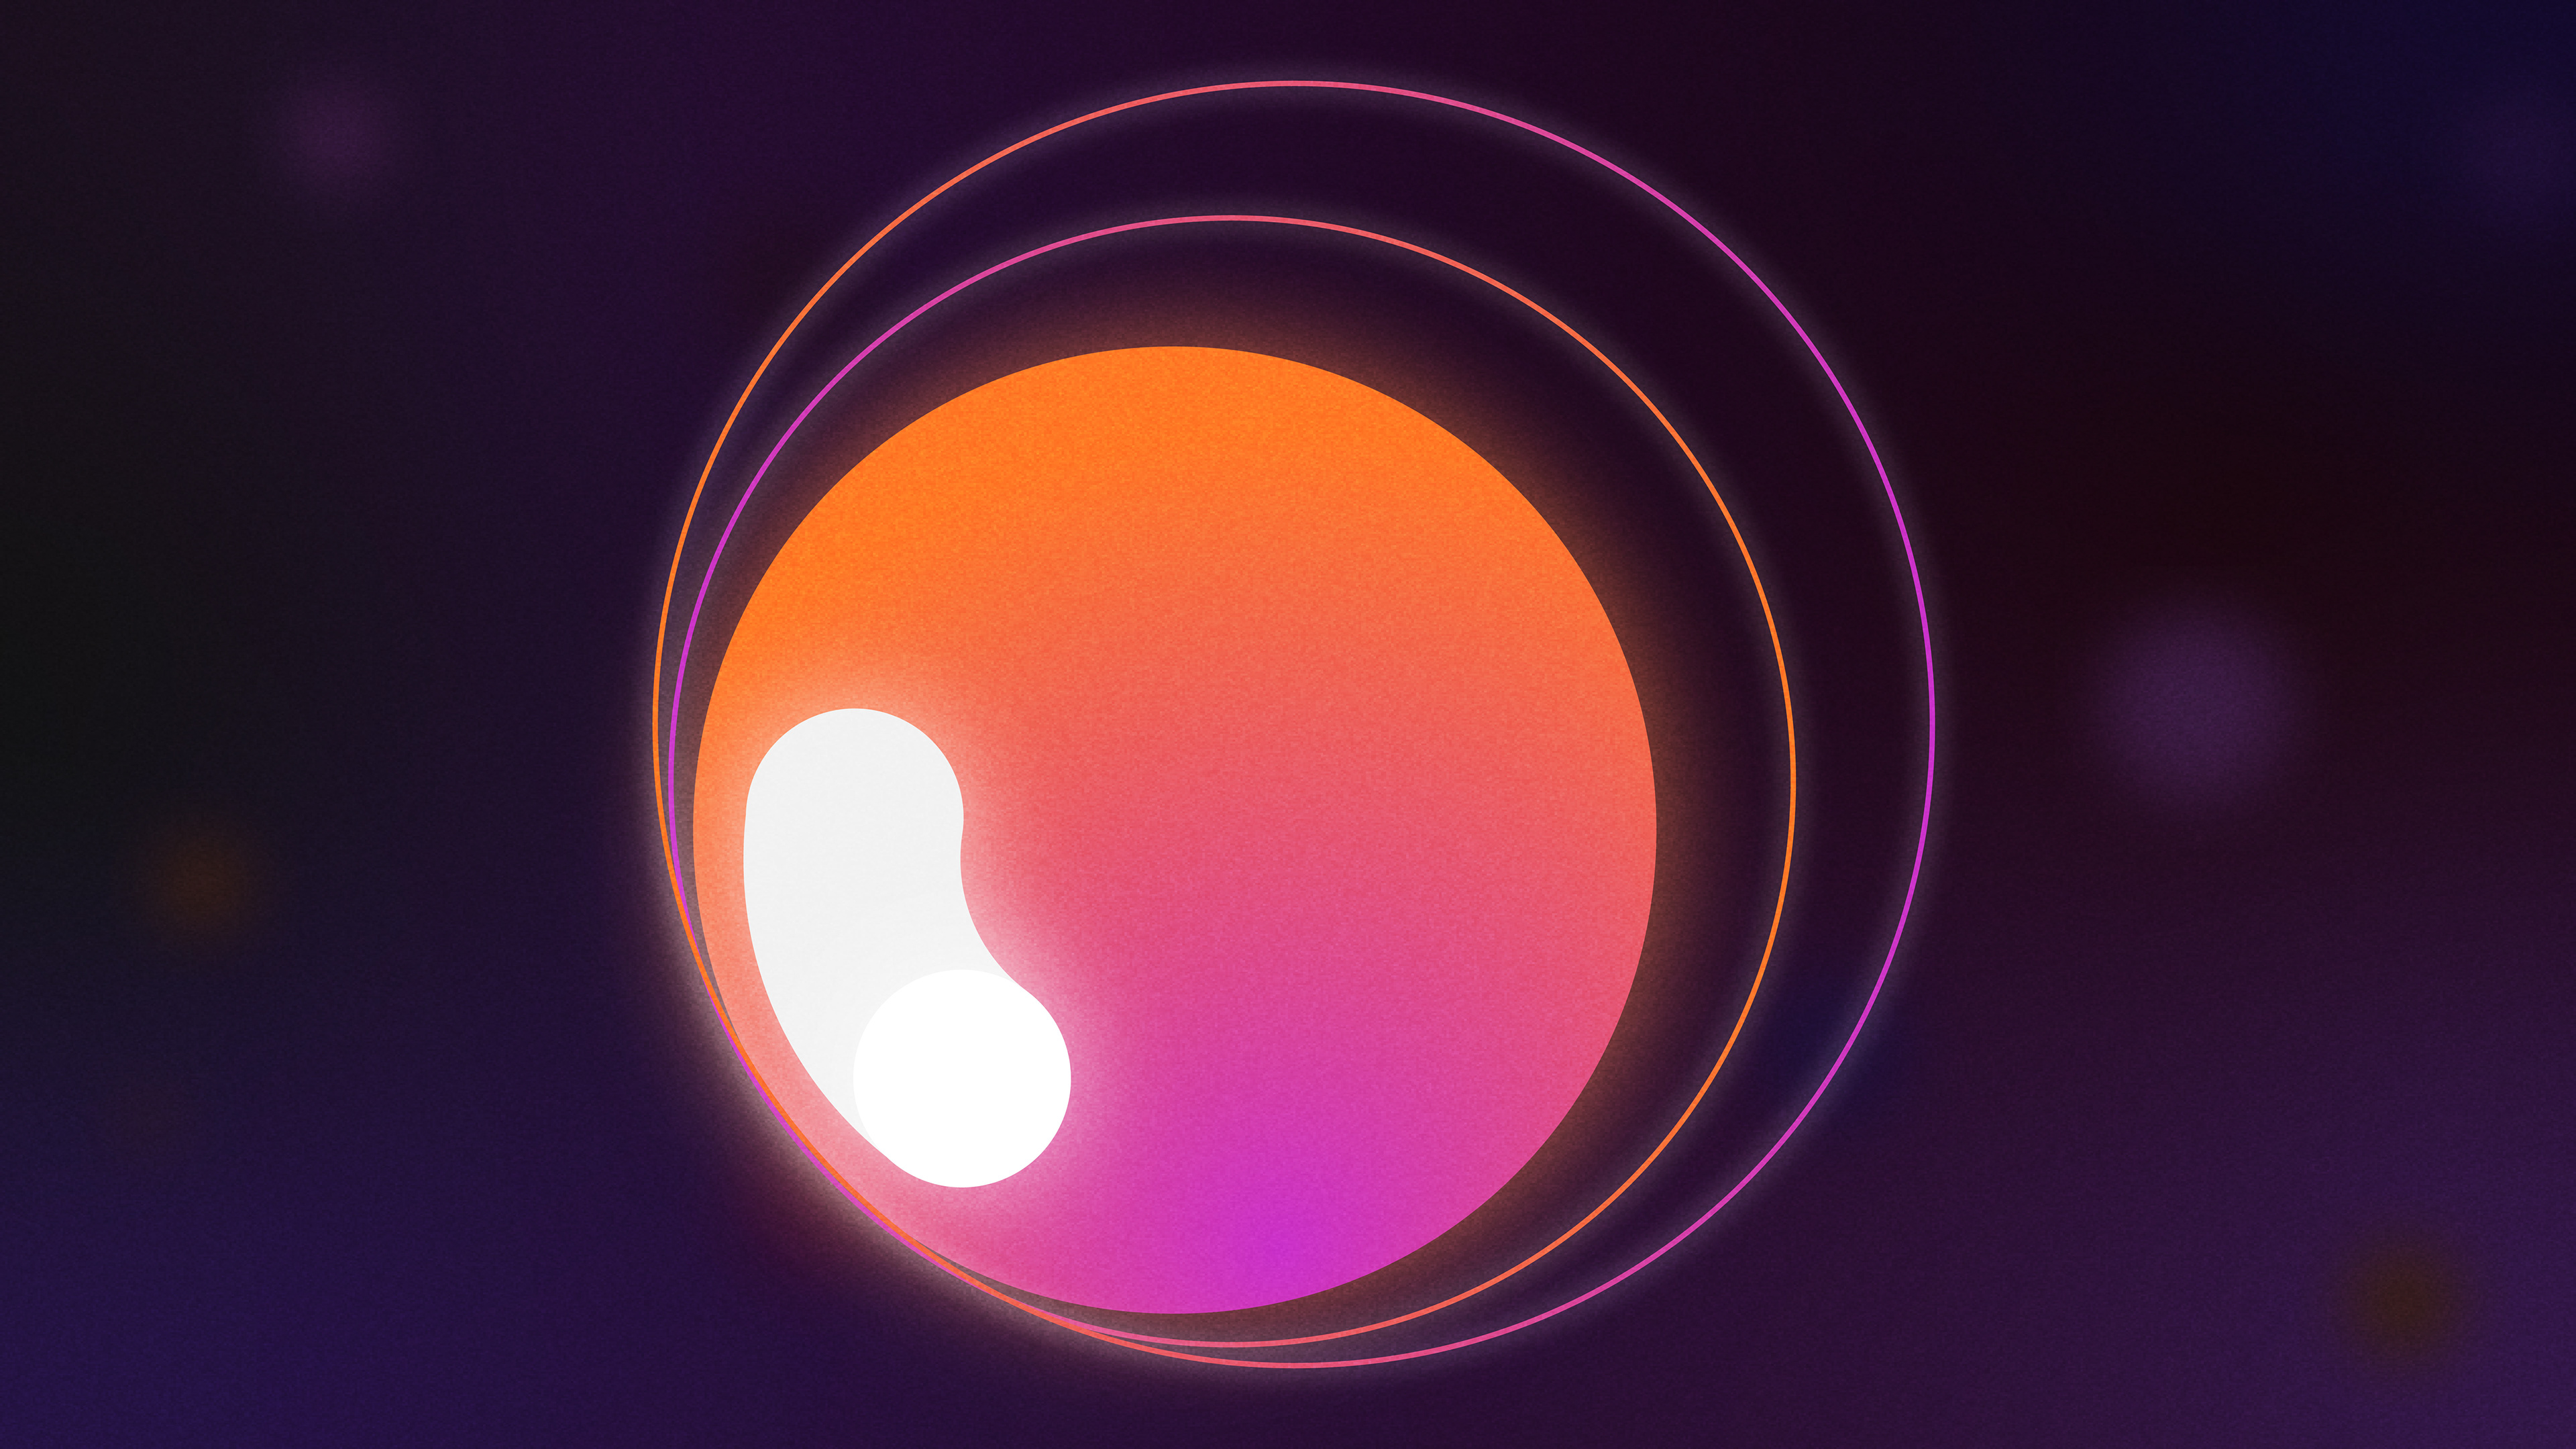
Some of my final styleframes:

Once done with the styleframes, I began the final part: animation! I started by switching my black and white animatic to one that implemented the final design. I then moved on to animate in After Effects.
Animatic with styleframes
Another timelapse animating the tunnel scene!
I started by animating just one part of the tunnel!
Final tunnel
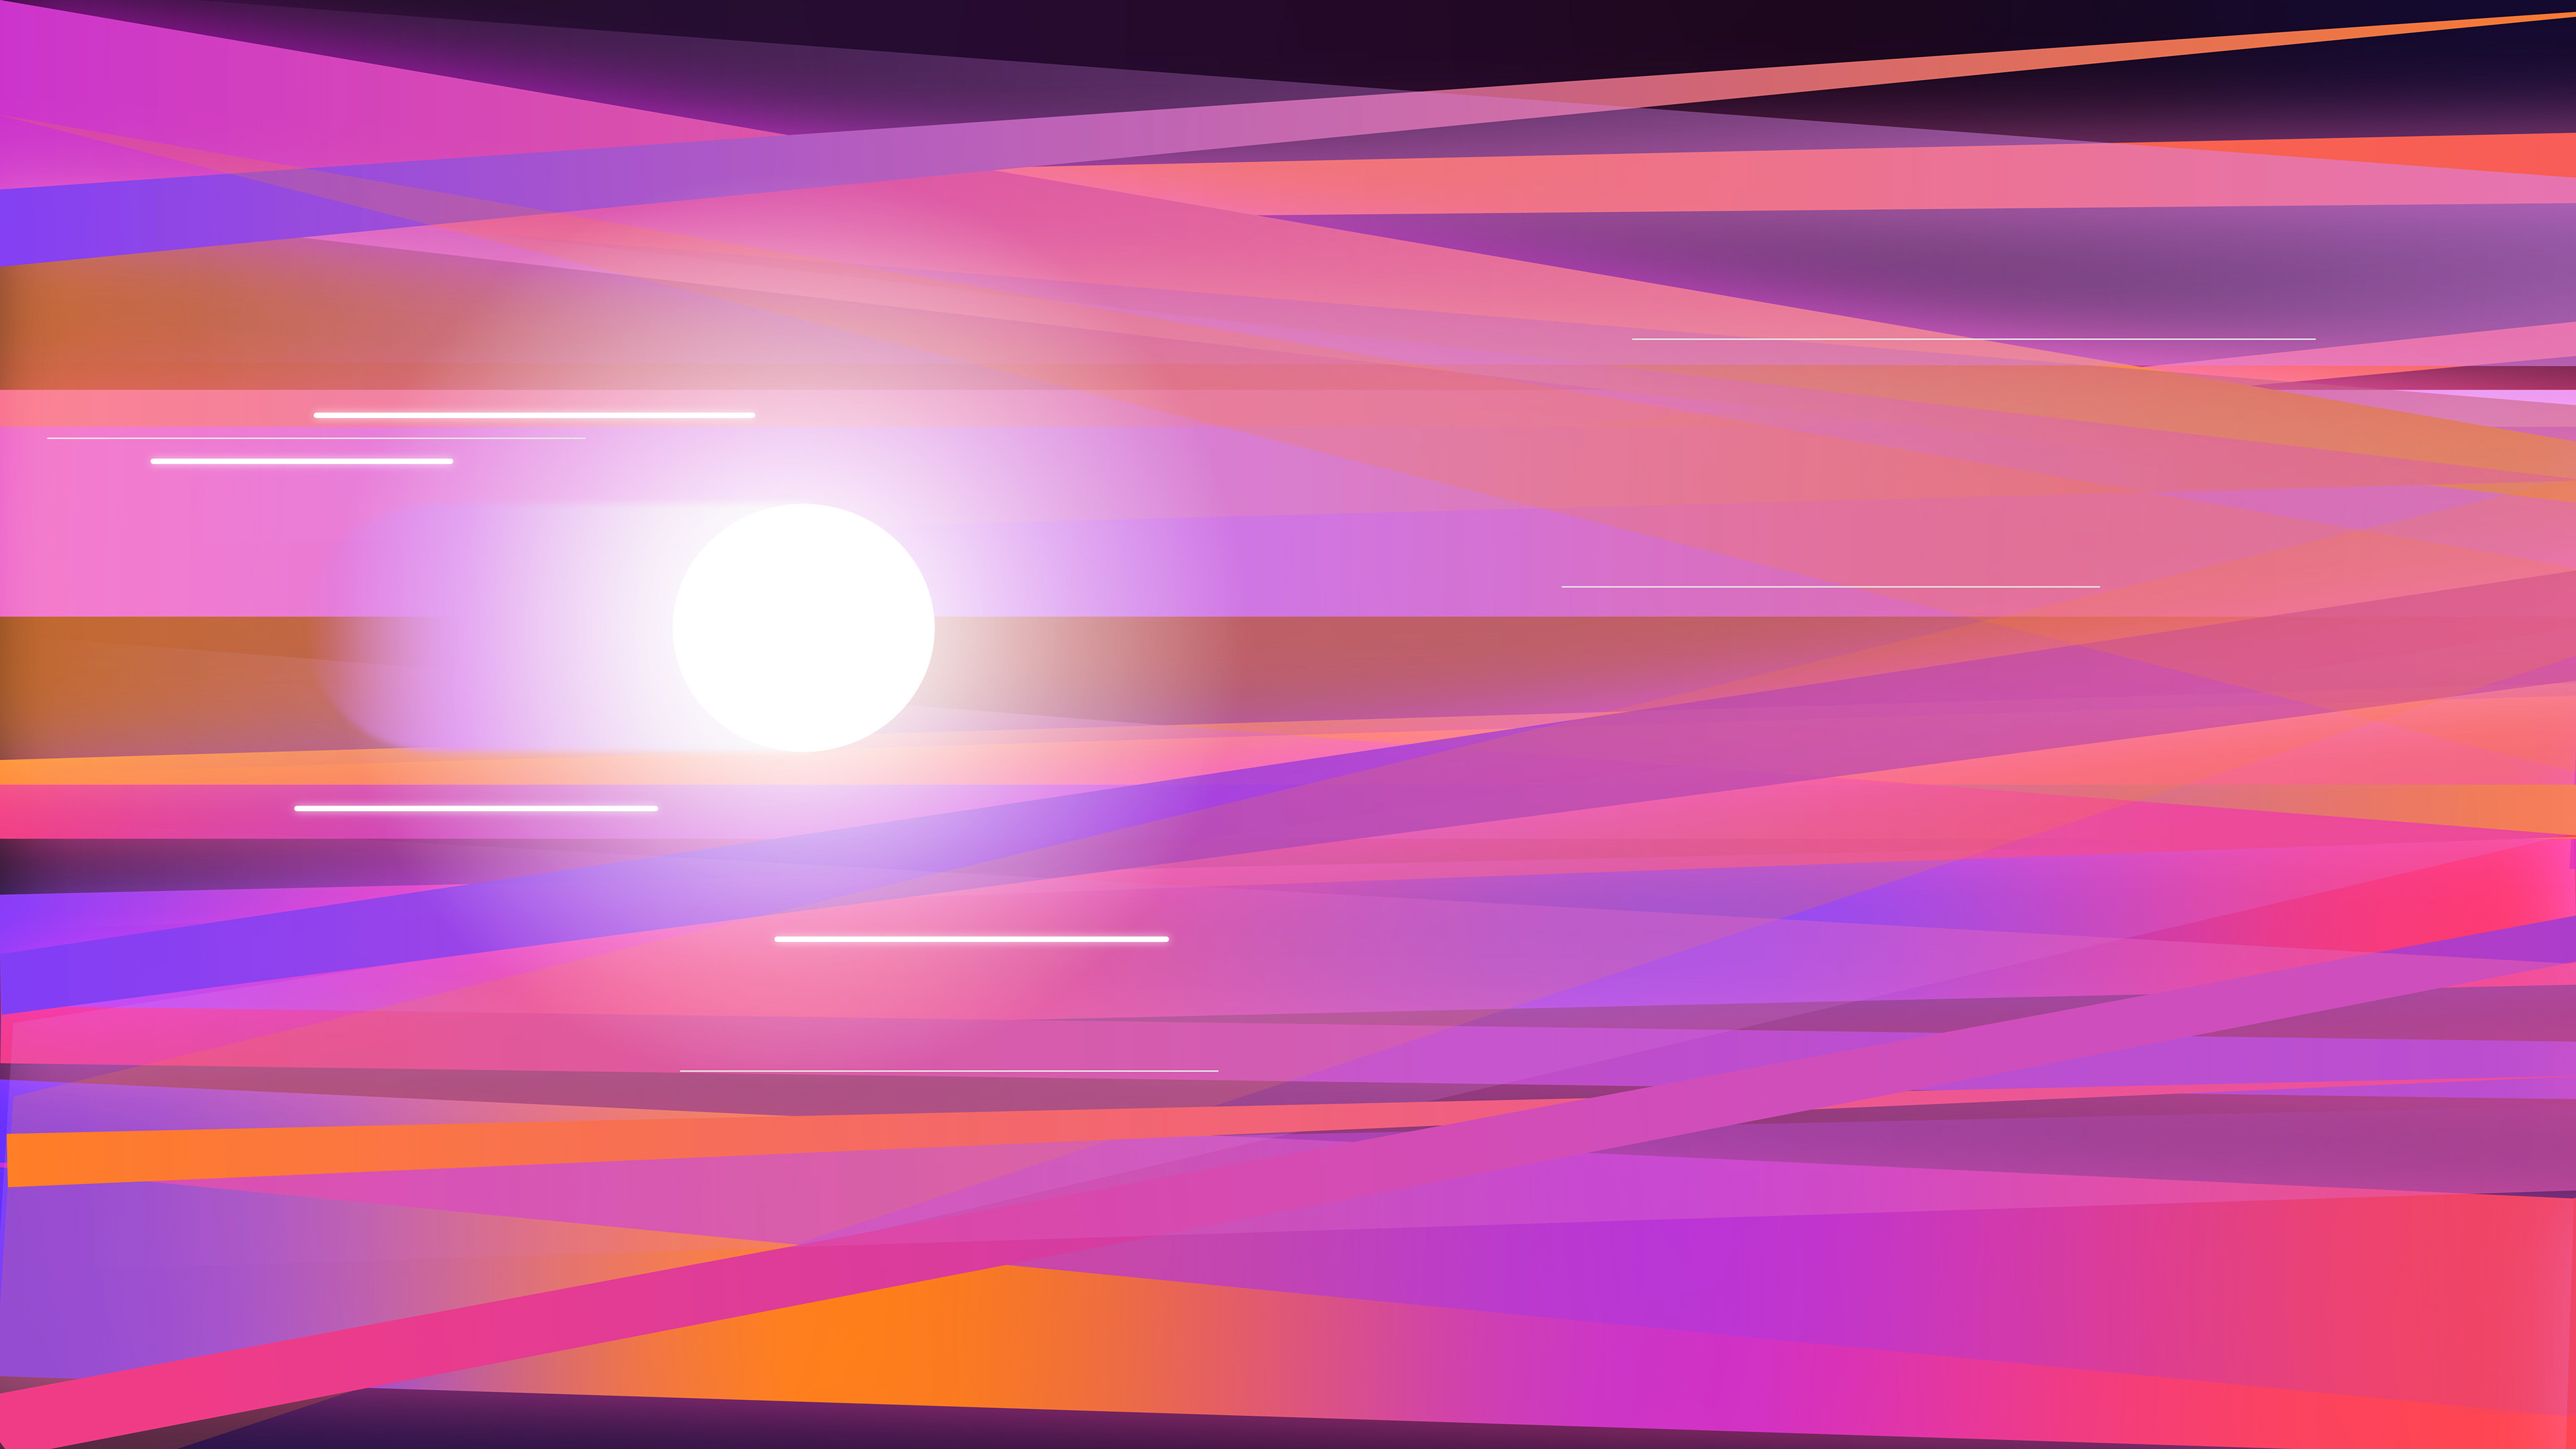
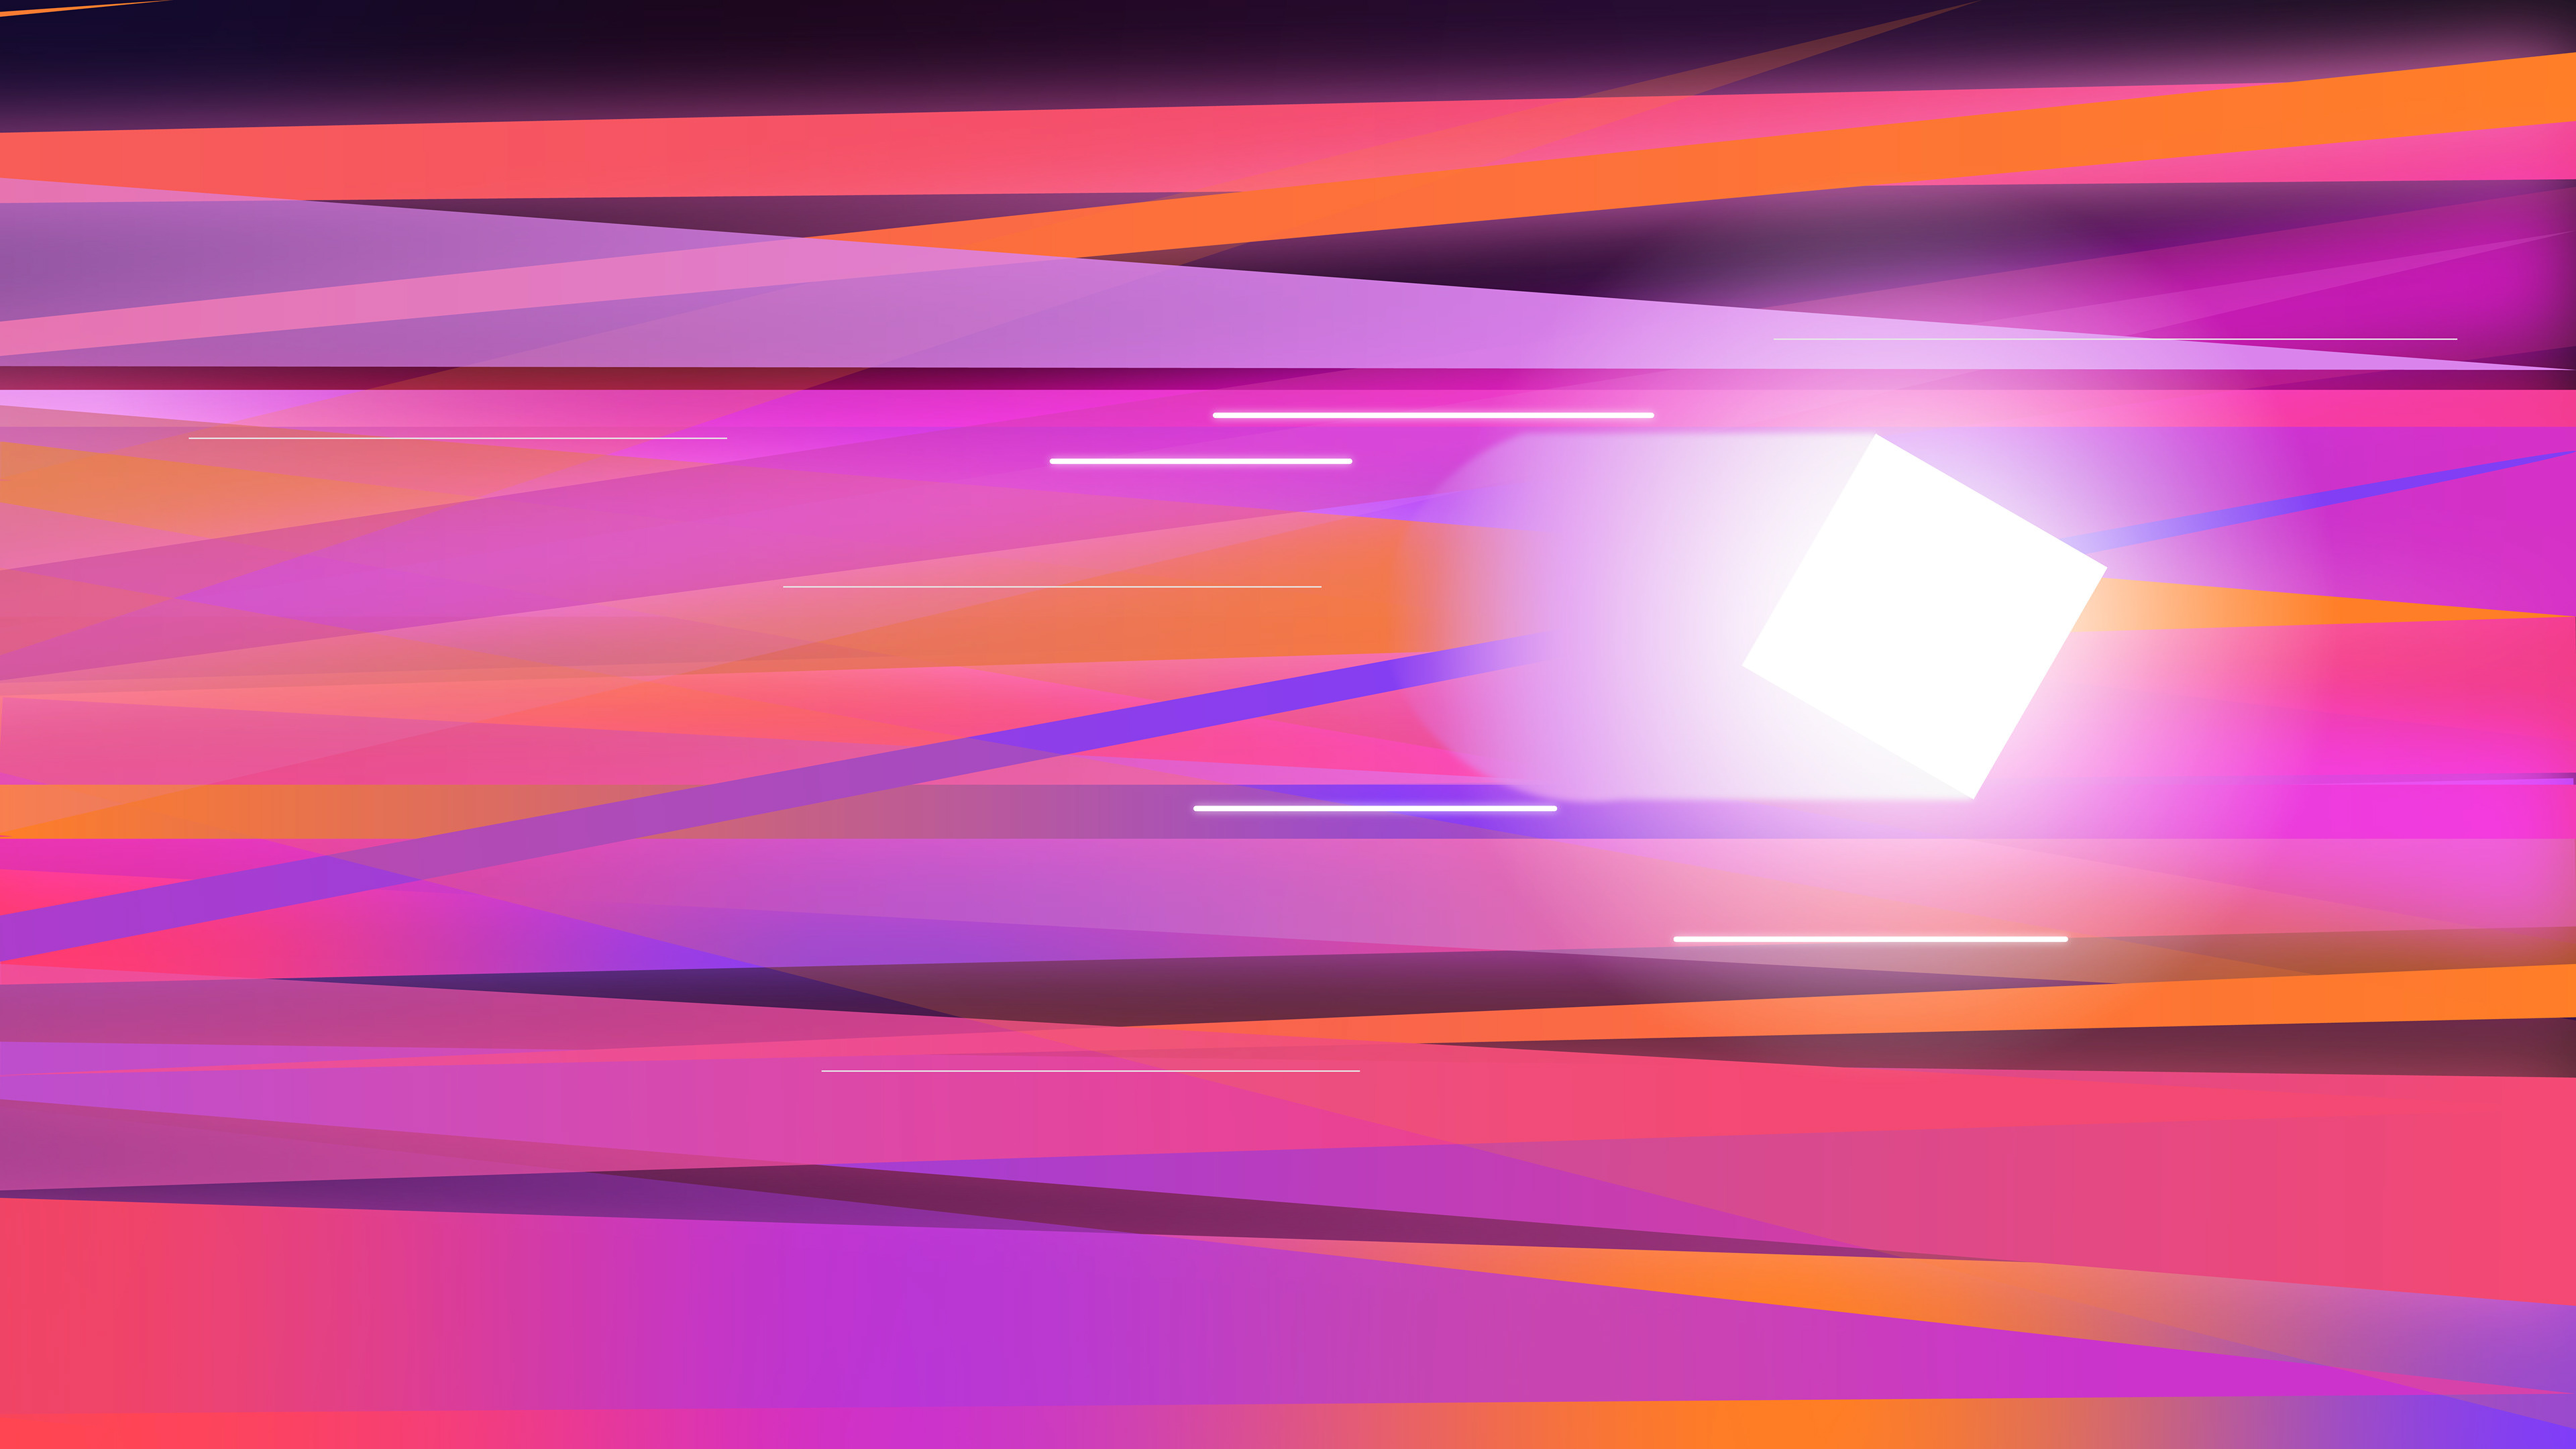
After the tunnel scene, I moved to the "Paths" scene at the beginning of the video. This scene was giving me some trouble because the initial smear I had designed for the balls was looking static. The echo effect didn't work for my needs because I had designed a smear with an opacity gradient. But, I got around it by using trim paths!
First trial. Balls looking super static.
Final paths scene. I just added a camera for the final version.
Working on the triangle "A" scene.
Aaaaand just like that I kept working on every scene... refining the motion and design.
Software Used

Procreate

Illustrator
After Effects